Milk Mochi Recipe
Milk Mochi is a velvety, melt-in-your-mouth treat that combines the luscious creaminess of fresh milk with the delicately chewy texture of traditional Japanese mochi. Ready in just minutes with a handful of everyday ingredients, you’ll love this fuss-free dessert for its unique flavor and playful bite. Whether you’re looking for a delightful gluten-free dessert or simply crave something soft, sweet, and comfortingly nostalgic, Milk Mochi checks all the boxes, bringing a smile to every bite.
Ingredients You’ll Need
-
Mochi:
- 1 cup mochiko (glutinous rice flour)
Milk Mixture:
- 1 cup whole milk
- ¼ cup granulated sugar
- ½ tsp vanilla extract
Additional:
- Cornstarch or potato starch for dusting
How to Make Milk Mochi
Step 1: Mix the Batter
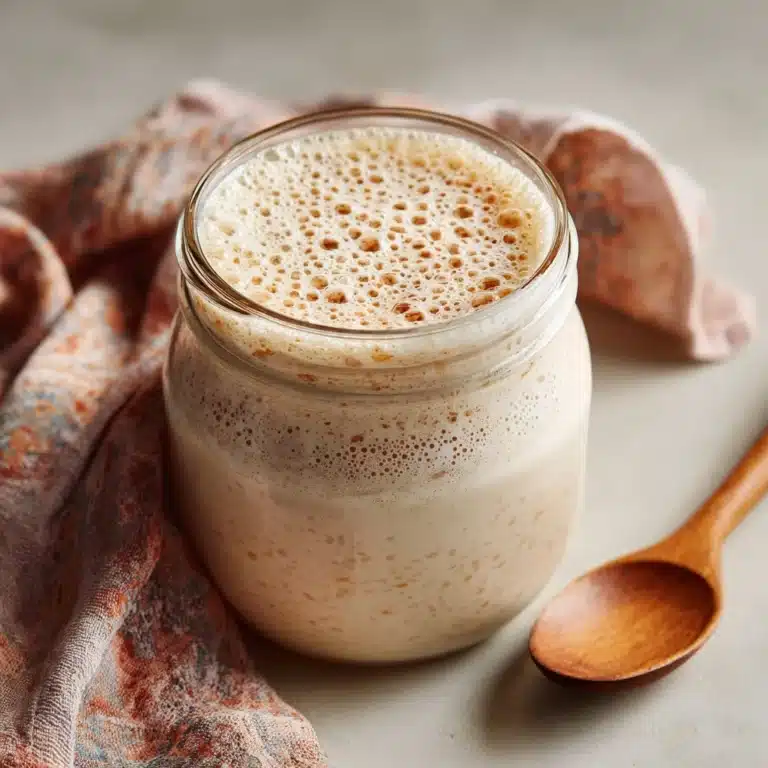
Start by grabbing a microwave-safe bowl and whisking together the mochiko, whole milk, granulated sugar, and vanilla extract. Whisk until you have a completely smooth and lump-free mixture—this ensures for the silkiest Milk Mochi texture later. Don’t rush this step; a few extra whisks make all the difference.
Step 2: Microwave and Stir
Cover your bowl loosely (so moisture can escape), then microwave the batter on high for 1 minute. Open up, give it a vigorous stir to redistribute the heat, and then pop it back into the microwave for 30-second bursts, stirring each time. After about 2 to 3 minutes total, the mixture will transform: look for a thick, glossy, and slightly translucent dough. That’s the signature chew of Milk Mochi!
Step 3: Cool and Prep Your Surface
Set your mochi aside for just a few minutes to cool—it will still be warm and pliable, but not scorching. Meanwhile, dust a clean work surface and your hands generously with cornstarch or potato starch. This step guarantees the sticky mochi won’t cling to everything it touches (including you!).
Step 4: Shape and Slice
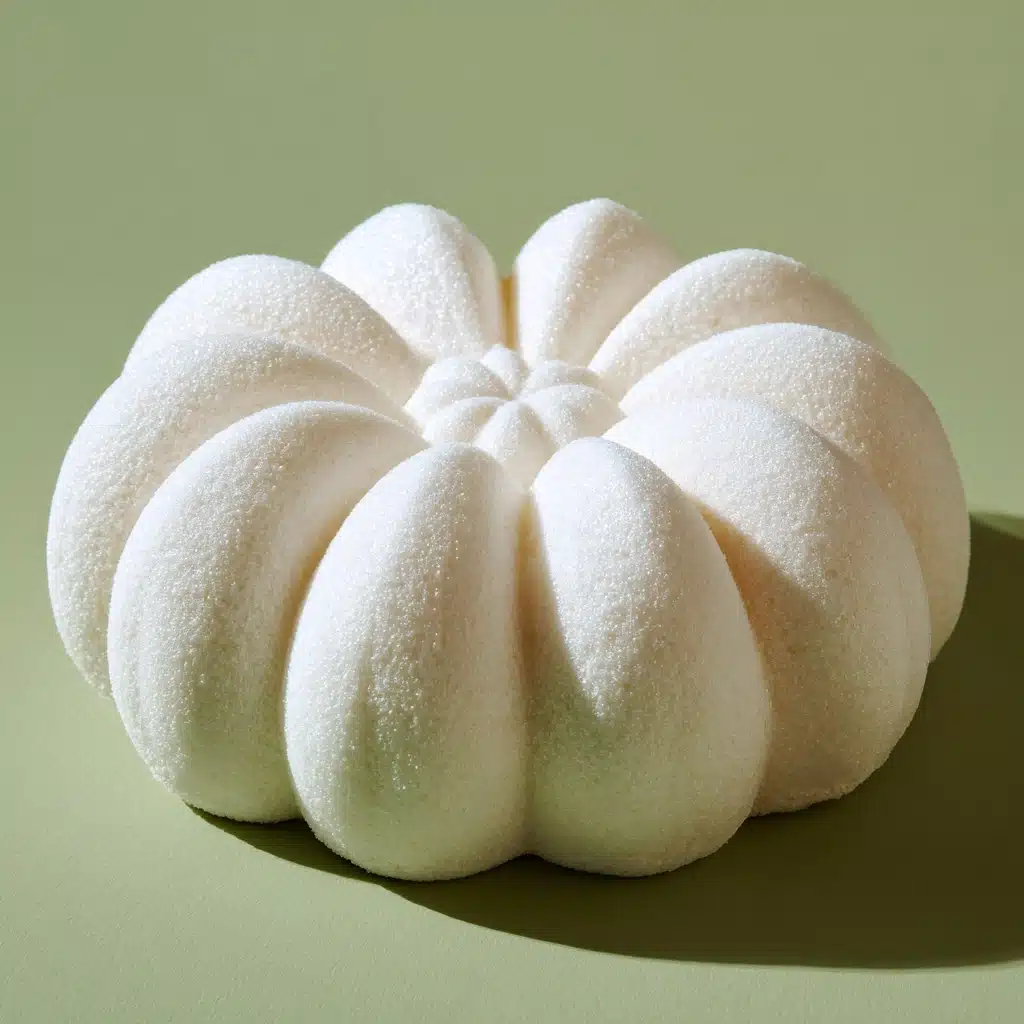
Carefully turn the warm mochi out onto your dusted surface. Sprinkle the top with more starch to tame any stickiness. Use your hands to gently flatten the mochi to a uniform thickness, then slice into bite-sized squares or rectangles using a sharp knife or dough scraper. If you like, give each piece a gentle roll or pat to form your favorite shape—the fun is entirely up to you!
Step 5: Serve
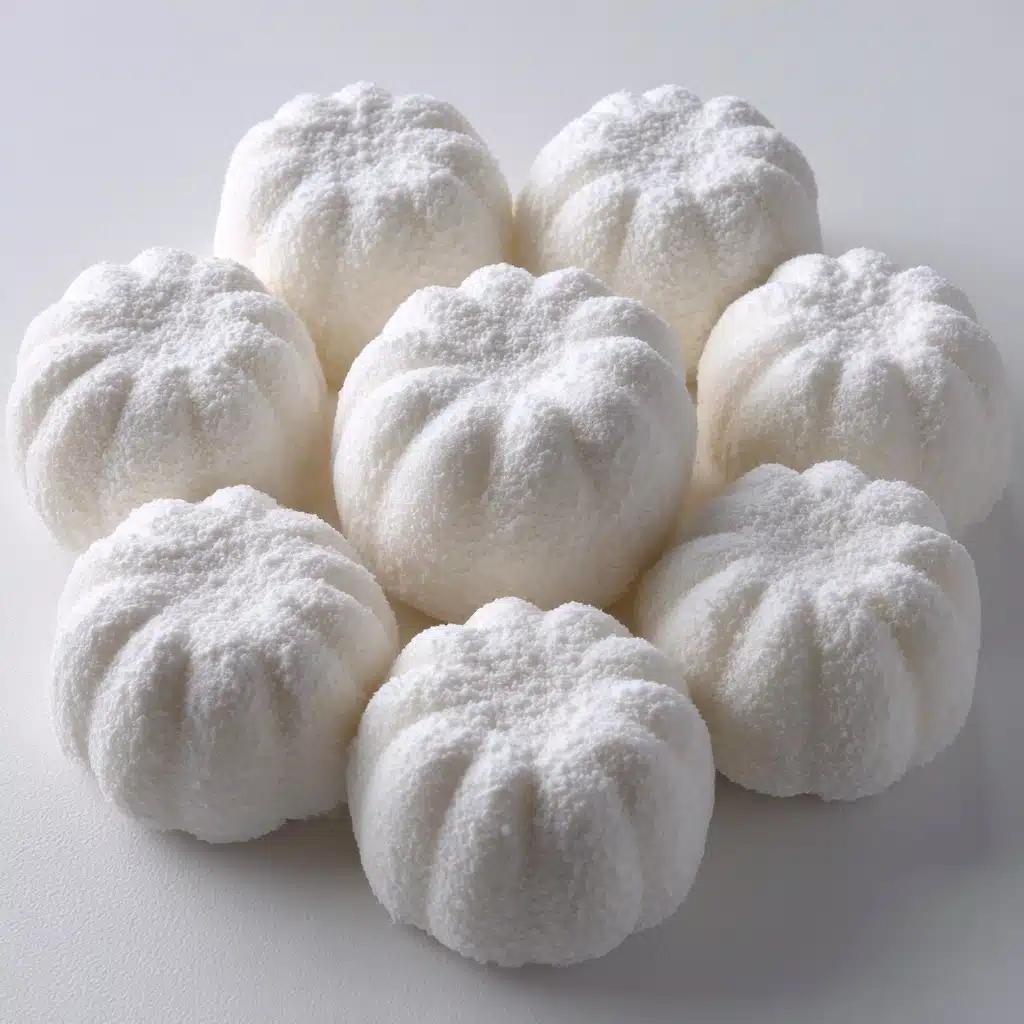
Your Milk Mochi is best enjoyed at room temperature. Arrange it on a dish and watch how the glossy, pillowy pieces entice everyone within arm’s reach! The mochi is beautifully soft, tender, and wrapped in a delicate, powdery dusting that feels like a little cloud.
How to Serve Milk Mochi
Garnishes
The classic look of Milk Mochi is gorgeous on its own, but a sprinkle of matcha powder, crushed freeze-dried fruit, or a drizzle of sweetened condensed milk can add an extra pop of color and flavor. Edible flowers or a dusting of cocoa powder make each piece feel fancy enough for a special occasion.
Side Dishes
Pairing Milk Mochi with fresh fruit like sliced strawberries or kiwi offers a refreshing, tart contrast to the gentle sweetness of the mochi. It’s also wonderful alongside a glass of iced green tea or a delicate cup of chamomile to round out your snack or dessert spread.
Creative Ways to Present
For a playful twist, use mini cookie cutters to cut your Milk Mochi into fun shapes, or skewer the pieces onto toothpicks for mochi “pops.” Arrange them in petite cupcake liners for an adorable, shareable treat at parties or picnics—or layer them in a parfait glass with whipped cream and berries for a showstopping dessert.
Make Ahead and Storage
Storing Leftovers
If you find yourself with leftover Milk Mochi, store the pieces in an airtight container at room temperature. They’re best enjoyed the same day, but will stay soft and chewy for up to 24 hours—just be sure to keep them covered, as mochi tends to dry out when exposed to air.
Freezing
Milk Mochi can be frozen if you need to store it longer! Arrange the cut pieces in a single layer on a parchment-lined tray and freeze until solid, then transfer to a zip-top bag. They’ll keep for about a month. To serve, let them thaw naturally at room temperature to retain their lovely texture.
Reheating
If your mochi has firmed up or chilled in the fridge, a very quick zap in the microwave (5 to 10 seconds) will revive some of that springy softness. Be careful not to overheat, or the sugar in the mochi may start to melt and turn sticky again.
FAQs
Can I use non-dairy milk for this Milk Mochi recipe?
Absolutely! While whole milk delivers the richest flavor, you can use oat milk, almond milk, or coconut milk as substitutes. The texture may change slightly, but the mochi will still be delicious and satisfyingly chewy.
Why is my mochi too sticky to handle?
Sticky mochi usually means you didn’t use enough cornstarch or potato starch for dusting. Generously dust your work surface and hands, and if needed, dust the mochi itself. A little extra starch goes a long way to prevent sticking without affecting the flavor.
Can Milk Mochi be made in advance for a party?
Definitely! Prepare the mochi the night before and store in an airtight container at room temperature. For serving, consider dusting with an extra layer of starch or adding fresh garnish right before your event for the best appearance and texture.
What can I add for different flavors?
This recipe is a great canvas for creativity! You can infuse the milk with matcha, cocoa powder, or a splash of fruit purée for a twist. Just be sure to blend well before cooking to avoid lumps, and taste-test the mixture to ensure the flavor pops.
Is Milk Mochi gluten-free?
Yes, Milk Mochi is naturally gluten-free, as mochiko flour is made entirely from glutinous rice. Just confirm that your vanilla extract and dusting starch are gluten-free if you’re cooking for someone sensitive.
Final Thoughts
I can’t wait for you to taste just how fun and satisfying Milk Mochi is to make and eat. This recipe is so easy, rewarding, and endlessly customizable—you’ll want to share it with everyone you know. Give it a try, and let this sweet, nostalgic Japanese treat add a bit of everyday magic to your table!
Print
Milk Mochi Recipe
- Total Time: 8 minutes
- Yield: 16 pieces 1x
- Diet: Gluten Free, Vegetarian
Description
Learn how to make delicious Milk Mochi at home with this easy microwave recipe. These chewy, bite-sized treats are a popular Japanese dessert perfect for any occasion.
Ingredients
Mochi:
- 1 cup mochiko (glutinous rice flour)
Milk Mixture:
- 1 cup whole milk
- ¼ cup granulated sugar
- ½ tsp vanilla extract
Additional:
- Cornstarch or potato starch for dusting
Instructions
- Prepare Mochi Mix: In a microwave-safe bowl, whisk mochiko, milk, sugar, and vanilla extract until smooth. Microwave on high for 1 minute.
- Microwave: Stir well and continue microwaving in 30-second intervals until thick and translucent (about 2–3 minutes total).
- Cool and Shape: Cool slightly, dust surface with starch, turn out the mixture, cut into pieces, and shape as desired.
- Serve: Enjoy your homemade Milk Mochi at room temperature.
Notes
- Infuse milk with matcha, cocoa powder, or fruit puree for flavored variations.
- Store in an airtight container at room temperature for up to 1 day for best texture.
- Prep Time: 5 minutes
- Cook Time: 3 minutes
- Category: Dessert
- Method: Microwaving
- Cuisine: Japanese
Nutrition
- Serving Size: 1 piece
- Calories: 55
- Sugar: 4g
- Sodium: 5mg
- Fat: 0.5g
- Saturated Fat: 0.3g
- Unsaturated Fat: 0.2g
- Trans Fat: 0g
- Carbohydrates: 12g
- Fiber: 0g
- Protein: 0.5g
- Cholesterol: 1mg


