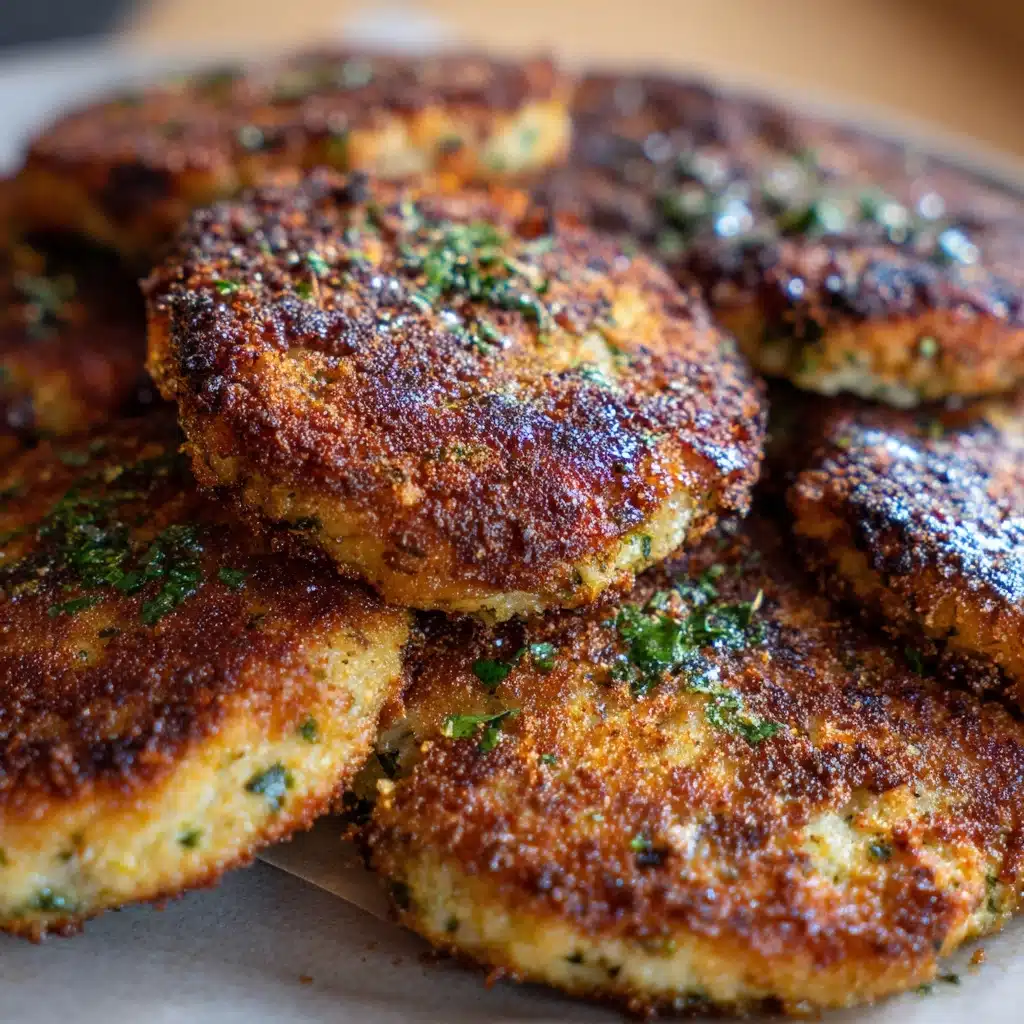
Chicken Rissoles Recipe
If comfort had a flavor, I’m convinced it would taste just like Chicken Rissoles: perfectly golden, slightly crisp on the outside, and juicy with every bite. These savory patties bring together ground chicken, fresh veggies, and simple spices for a dish that’s hugely satisfying and easy enough for any weeknight. Whether you grew up eating rissoles at family get-togethers or you’re brand new to this Aussie-inspired classic, Chicken Rissoles are sure to become a favorite in your home too.
Ingredients You’ll Need
One of the best things about Chicken Rissoles is how accessible the ingredients are—and each one adds a little something special to the finished dish. From the sweetness of carrot to the bright pop of parsley, every ingredient works together to build irresistible flavor and texture.
- Ground Chicken: The star of the show, it makes each rissole light and juicy while soaking up all the delicious add-ins.
- Onion (finely grated): Adds subtle sweetness and moisture, blending right into the mix for flavor in every bite.
- Garlic (minced): Lends a gentle aromatic background that elevates the savory notes.
- Carrot (grated): Provides natural sweetness and a pop of color, all while keeping the rissoles moist.
- Breadcrumbs (plus extra for coating): Acts as the binding agent for a tender inside and crispy exterior—use panko for extra crunch!
- Egg: Helps everything stick together, so your rissoles stay perfectly shaped when frying.
- Chopped Parsley: Adds freshness and a pretty speckled look to each patty.
- Dijon Mustard: Offers just the right tang to balance all the flavors.
- Salt: Essential for seasoning the entire mixture and making the flavors sing.
- Black Pepper: Brings a gentle kick that keeps each bite interesting.
- Olive Oil (for frying): Gives those rissoles a golden crust and rich, savory aroma.
How to Make Chicken Rissoles
Step 1: Combine the Ingredients
Start by grabbing a large mixing bowl—this is where the magic begins! Add the ground chicken, grated onion, minced garlic, grated carrot, breadcrumbs, egg, chopped parsley, Dijon mustard, salt, and pepper. Mix everything together thoroughly with clean hands or a spatula until the mixture looks uniform and sticky. Don’t be afraid to get a little messy—the more you mix, the more tender your Chicken Rissoles will be!
Step 2: Shape the Patties
It’s time to get hands-on! Wet your hands slightly to prevent sticking, then scoop up a portion of the mixture and shape it into small, even patties—aim for about 8 to 10 in total. Keeping them equal in size helps them cook evenly and look perfect when served.
Step 3: Coat the Rissoles
Pour a bit of extra breadcrumbs onto a plate. Gently press each patty into the breadcrumbs, coating both sides. This little move gives your Chicken Rissoles their signature crunch on the outside, making that first bite truly unforgettable.
Step 4: Fry to Golden Perfection
Heat olive oil in a large skillet over medium heat. When the oil shimmers, carefully add your rissoles, working in batches so you don’t overcrowd the pan. Fry each rissole for 4–5 minutes per side, flipping gently until they’re golden brown and cooked through. The aroma will be irresistible! Make sure the internal temperature reaches 165°F for safe, juicy results.
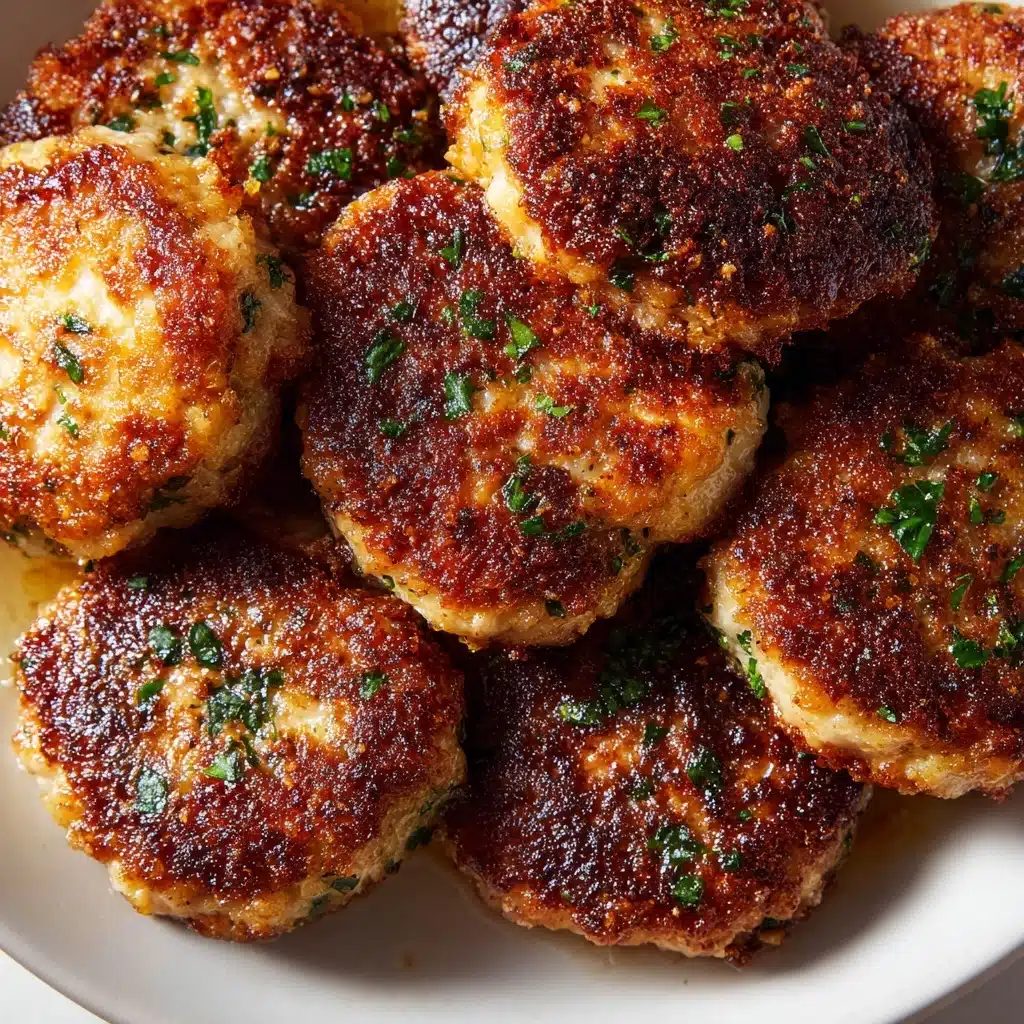
Step 5: Drain and Serve
Transfer the cooked rissoles onto a plate lined with paper towels to drain off any excess oil. Serve them while hot and crisp—you won’t believe how good they smell! Chicken Rissoles are wonderful on their own, but they truly shine with the right garnishes and sides.
How to Serve Chicken Rissoles
Garnishes
Give your Chicken Rissoles an extra pop by showering them with freshly chopped parsley or dill right before serving—a little fresh herb on top is always welcome. A dollop of your favorite sauce, like garlic aioli or classic tomato chutney, will take things up a notch and add even more personality to the plate.
Side Dishes
These rissoles have a magical way of pairing with just about anything. Traditional mashed potatoes with a heap of peas are always a win, but you can also serve them with a simple green salad for a lighter touch. Roasted vegetables or steamed broccolini make great sides for a more colorful and nutritious meal.
Creative Ways to Present
Try tucking your Chicken Rissoles into fresh brioche rolls with lettuce and tomato as mini sliders for a fun twist. They’re fabulous sliced up cold over a big salad for lunch, or roll them up in pita with crunchy veggies and a drizzle of yogurt sauce. However you serve them, Chicken Rissoles are endlessly adaptable!
Make Ahead and Storage
Storing Leftovers
If you’re lucky enough to have any Chicken Rissoles left over, keep them in an airtight container in the fridge for up to three days. They’ll taste just as delicious the next day and make a quick, protein-rich meal or snack.
Freezing
Chicken Rissoles are ideal for freezing! Simply let them cool, then layer them with parchment paper between each rissole and store in a freezer-safe bag or container. They’ll keep their flavor and texture for up to three months, ready to pull out whenever you need a comforting meal in a hurry.
Reheating
To bring back that fresh-cooked magic, reheat rissoles in a skillet over medium-low heat or in a 350°F oven until warmed through. If you’re using the microwave, cover them with a damp paper towel to help retain moisture and prevent them from drying out.
FAQs
Can I use turkey or beef instead of chicken?
Absolutely! Turkey and lean beef are both excellent substitutes and will create their own tasty variations. Just keep in mind that cooking times may vary slightly depending on the protein, but the method remains the same.
What keeps Chicken Rissoles from falling apart?
It’s all about the balance of binders: the egg and breadcrumbs do most of the work in holding the patties together. If the mixture feels too wet, add a bit more breadcrumbs. For extra insurance, chill shaped rissoles in the fridge for 15 minutes before frying.
Can I make Chicken Rissoles gluten-free?
Yes! Simply swap in gluten-free breadcrumbs for both the filling and the coating. Everything else stays the same, so you’ll still get delicious results everyone can enjoy.
How do I know when the rissoles are cooked through?
The safest way is to use a meat thermometer—your Chicken Rissoles should reach an internal temperature of 165°F. If you don’t have one, slice one open to check for no pink in the center and clear juices running out.
Can I bake Chicken Rissoles instead of frying?
Definitely. Just arrange the coated rissoles on a parchment-lined baking tray, spray or brush with a little oil, and bake at 400°F for 18–20 minutes, flipping halfway. They’ll come out a little lighter but just as tasty!
Final Thoughts
There’s something extra-special about sharing a plate of homemade Chicken Rissoles with family or friends, especially when everyone’s clamoring for seconds. If you’ve never tried making these at home, this recipe is the perfect invitation. Give it a go and watch it become a regular favorite in your kitchen!
Print
Chicken Rissoles Recipe
- Total Time: 35 minutes
- Yield: 4 servings 1x
- Diet: Non-Vegetarian
Description
These Chicken Rissoles are flavorful and satisfying patties made with ground chicken, vegetables, and seasonings. They are easy to prepare and make a delicious main course option for any day of the week.
Ingredients
Ground Chicken Patties:
- 1 pound ground chicken
- 1 small onion, finely grated
- 1 clove garlic, minced
- 1 small carrot, grated
- 1/4 cup breadcrumbs, plus more for coating
- 1 egg
- 2 tablespoons chopped parsley
- 1 teaspoon Dijon mustard
- 1/2 teaspoon salt
- 1/4 teaspoon black pepper
- 2 tablespoons olive oil (for frying)
Instructions
- Mix the Ingredients: In a large bowl, combine ground chicken, grated onion, garlic, grated carrot, breadcrumbs, egg, parsley, mustard, salt, and pepper. Mix well.
- Shape the Patties: With damp hands, shape the mixture into 8–10 small patties. Coat each rissole lightly with breadcrumbs.
- Fry the Rissoles: Heat olive oil in a skillet over medium heat. Fry the patties in batches for 4–5 minutes per side until golden brown and cooked through.
- Serve: Drain on paper towels and serve hot with your choice of sides.
Notes
- For a crispier coating, use panko breadcrumbs.
- You can bake the rissoles at 400°F for 18–20 minutes as a healthier alternative to frying.
- Prep Time: 15 minutes
- Cook Time: 20 minutes
- Category: Main Course
- Method: Pan Frying
- Cuisine: Australian
Nutrition
- Serving Size: 2 rissoles
- Calories: 260
- Sugar: 2g
- Sodium: 380mg
- Fat: 14g
- Saturated Fat: 3g
- Unsaturated Fat: 10g
- Trans Fat: 0g
- Carbohydrates: 10g
- Fiber: 1g
- Protein: 24g
- Cholesterol: 105mg


