Bunny Buns Recipe
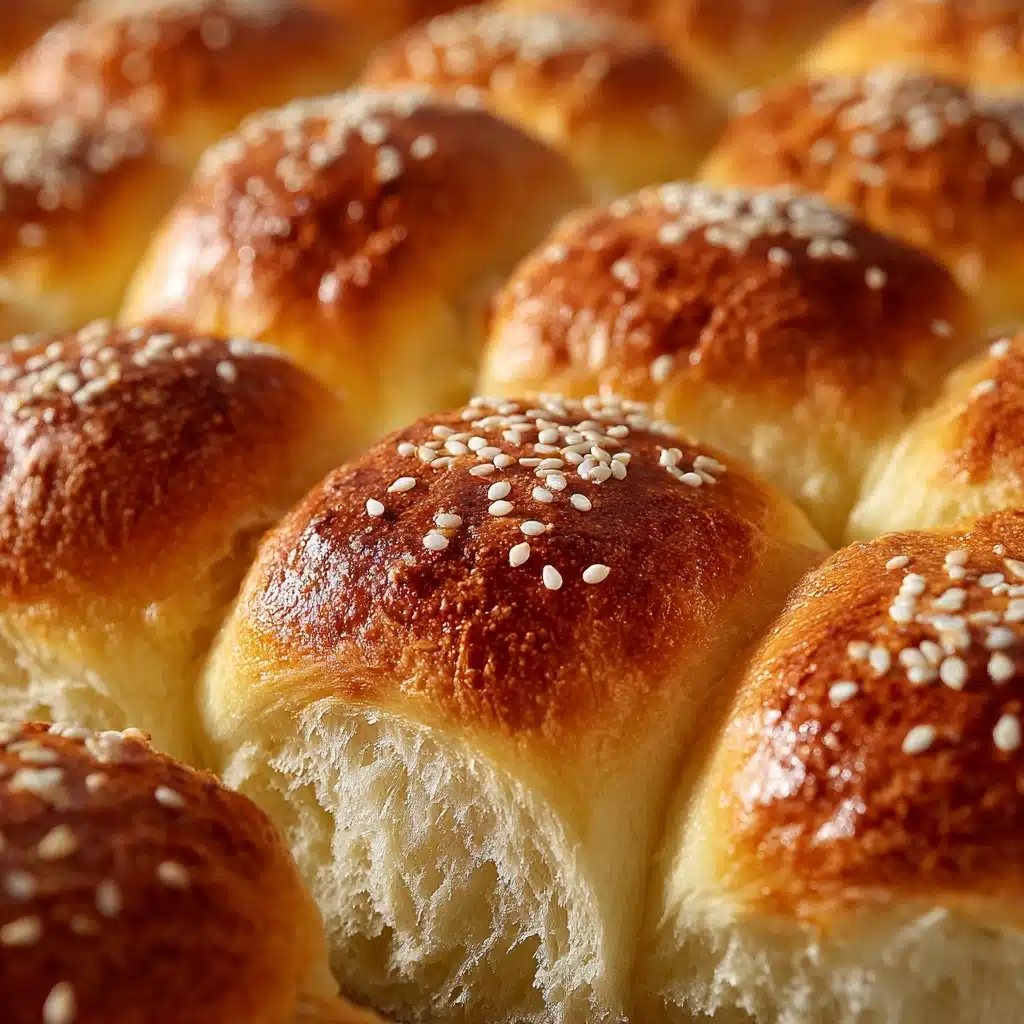
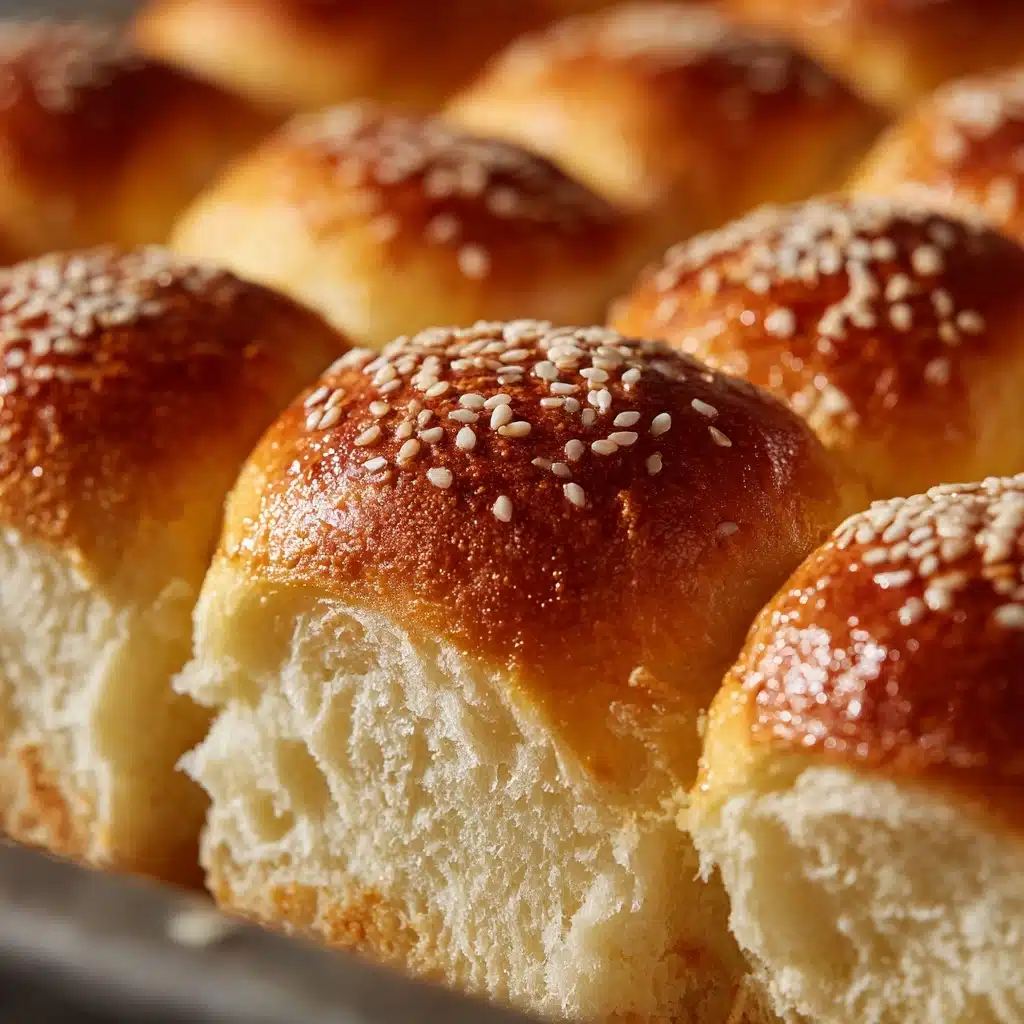
If you’re looking for an irresistibly cute and pillowy treat to brighten up your table, Bunny Buns are the answer. These soft, golden rolls are not only fun to shape, but they’re also delightfully tender and subtly sweet—perfect for Easter brunch, spring celebrations, or any day you want to make a baking memory with loved ones. From their fluffy ears to their gentle hint of richness, Bunny Buns bring whimsical charm and home-baked goodness together in every bite.
Ingredients You’ll Need
The beauty of Bunny Buns lies in their simplicity: every ingredient is easy to find, but each one plays a special role in giving these buns their cloud-like texture and signature flavor. Here’s what you’ll need—and why you’ll love it.
- Warm milk (1 cup, 110°F): The perfect cozy bath for yeast to bloom, lending moisture and softness to the dough.
- Active dry yeast (2 ¼ teaspoons, 1 packet): This is what gives Bunny Buns their irresistible rise and delicate crumb.
- Granulated sugar (¼ cup): Adds just the right hint of sweetness and helps the yeast do its magic.
- Unsalted butter, melted (¼ cup): Infuses the dough with rich flavor and a touch of tenderness.
- Salt (1 teaspoon): Balances the sweetness and brings out the full flavor of your rolls.
- Egg (1 large): Binds everything together and gives the buns a lovely golden hue.
- All-purpose flour (3 ½ to 4 cups): The structure of your Bunny Buns—add just enough for a soft, smooth dough.
- Milk for brushing (2 tablespoons): A quick brush before baking gives those bunnies their beautiful shine.
- Raisins or mini chocolate chips (optional, for eyes): These little touches bring your bunnies to life and add a pop of sweetness!
How to Make Bunny Buns
Step 1: Bloom the Yeast
Start by combining the warm milk, yeast, and a pinch of sugar in a large mixing bowl. Give it a gentle stir and let it sit quietly for 5 to 10 minutes. You’ll know things are happening when the top becomes foamy—this is the sign that your yeast is ready to make magic happen! Don’t skip this step; it’s the secret to those airy Bunny Buns.
Step 2: Mix and Knead the Dough
Once your yeast is bubbling, add in the rest of the sugar, melted butter, salt, egg, and 3 ½ cups of flour. Stir until a shaggy dough forms, then knead—by hand or with a dough hook—for about 5 to 7 minutes. The dough should be soft, smooth, and elastic. If it’s sticky, sprinkle in a bit more flour, a tablespoon at a time, until it feels just right. This step sets the stage for those signature fluffy Bunny Buns.
Step 3: First Rise
Pop the dough into a greased bowl, cover it with a towel or plastic wrap, and let it rise in a warm spot for about an hour. When it’s doubled in size, you’ll know your Bunny Buns are on the right track! This rise is what gives the buns their light, airy texture.
Step 4: Shape Your Bunnies
Now for the fun part! Gently punch down the dough and divide it into 12 equal pieces. Roll each piece into a smooth ball for the bunny’s body. For every bunny, pinch off a little extra dough, roll it into two small logs, and attach them to the top as ears. Add raisins or mini chocolate chips for eyes, pressing them gently into place. This is where the Bunny Buns truly come to life!
Step 5: Second Rise
Place your shaped bunnies on a parchment-lined baking sheet, giving them a bit of space to puff up. Cover them and let them rise for another 20 to 30 minutes. This quick second rise ensures your Bunny Buns will be ultra-fluffy when baked.
Step 6: Bake
Preheat your oven to 375°F. Brush each bunny gently with a little milk—this gives them a beautiful golden shine in the oven. Bake for 12 to 15 minutes, or until the bunnies are golden brown and their little faces are irresistible. Let them cool slightly before serving.
How to Serve Bunny Buns
Garnishes
Give your Bunny Buns a playful finishing touch! A dusting of powdered sugar, a drizzle of simple icing, or even a little citrus zest can make your bunnies extra-special. If you want to lean into the whimsy, add tiny bows with edible markers or sprinkles for noses.
Side Dishes
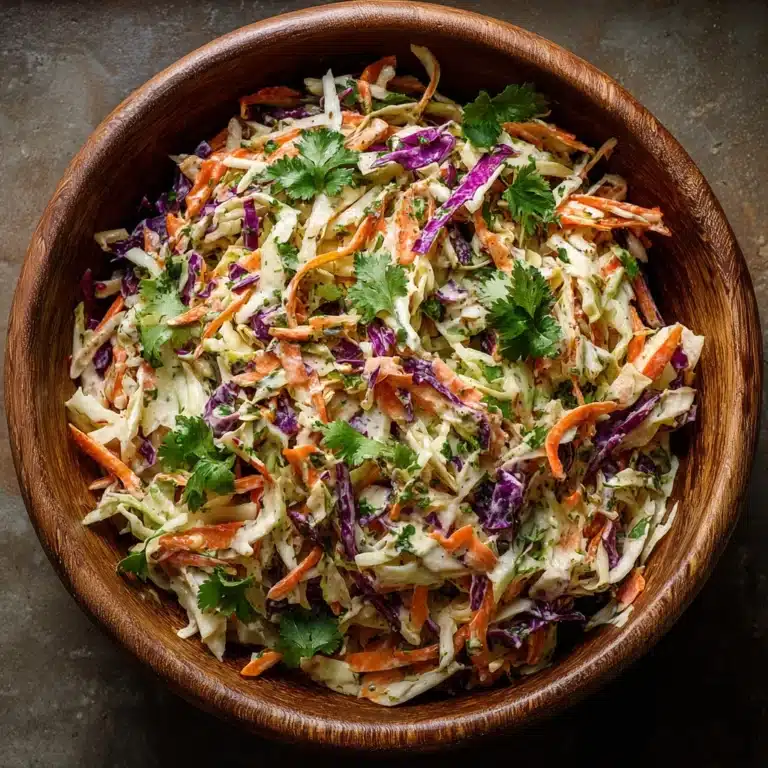
Bunny Buns are versatile enough to serve with both sweet and savory sides. Pair them with a fresh fruit salad, a dollop of jam or honey butter, or serve alongside classic brunch favorites like scrambled eggs and crisp bacon. They also make a charming accompaniment to a springtime soup or salad.
Creative Ways to Present
Set out your Bunny Buns in a basket lined with a pastel napkin for a festive centerpiece. Arrange them on a tiered platter, nestled among colored eggs or edible flowers for a showstopping brunch spread. For kids’ parties, let little ones decorate their own Bunny Buns with icing, candy eyes, or sprinkles—it’s almost as fun as eating them!
Make Ahead and Storage
Storing Leftovers
If you manage to have any Bunny Buns left over, keep them soft by storing in an airtight container at room temperature. They’ll stay fresh for up to 2 days—perfect for lunchbox treats or afternoon snacks!
Freezing
Bunny Buns freeze beautifully. Once cooled, pop them into a freezer-safe bag and store for up to 2 months. Thaw at room temperature or give them a gentle warm-up in the oven to bring back that just-baked magic.
Reheating
To enjoy Bunny Buns warm, simply pop them in a 300°F oven for about 5 minutes, or microwave for 10 to 15 seconds each. They’ll be just as fluffy and inviting as when they first came out of the oven.
FAQs
Can I make Bunny Buns ahead of time?
Absolutely! Shape the buns, place them on a baking sheet, and cover tightly. You can refrigerate overnight and bake fresh in the morning—just let them come to room temperature and rise a bit before baking.
What’s the best way to get the ears to stick?
When attaching the ears, press them firmly into the top of the bunny’s head and gently pinch the base into the main dough. If they’re not sticking, a little dab of water acts as edible glue!
Can I make these dairy-free?
Yes! Substitute plant-based milk and a dairy-free butter alternative. The results are just as soft and adorable—your Bunny Buns will be a hit for everyone.
How do I add citrus flavor to Bunny Buns?
For a springy twist, add a teaspoon or two of finely grated orange or lemon zest to the dough along with the sugar. It adds a lovely pop of brightness in every bite.
Can kids help with shaping the bunnies?
Definitely! Shaping and decorating Bunny Buns is a fantastic activity for little hands. Kids love rolling, pinching, and making faces—plus, they’ll be more excited to eat the finished buns!
Final Thoughts
Baking Bunny Buns is pure joy—from mixing and shaping to that first warm, fluffy bite. Whether you’re making memories with family or simply treating yourself, give these delightful buns a try. There’s something magical about seeing a tray of golden bunnies emerge from your oven—happy baking!
Print
Bunny Buns Recipe
- Total Time: 1 hour 40 minutes
- Yield: 12 buns 1x
- Diet: Vegetarian
Description
Bunny Buns are soft, fluffy sweet rolls shaped like adorable little bunnies, perfect for Easter brunch or springtime snacks. Made with a tender yeast dough enriched with butter and egg, these delightful buns can be customized with raisins or mini chocolate chips for eyes and offer a subtle sweetness that pairs wonderfully with a drizzle of icing or a citrus twist.
Ingredients
For the Dough
- 1 cup warm milk (110°F)
- 2 ¼ teaspoons active dry yeast (1 packet)
- ¼ cup granulated sugar
- ¼ cup unsalted butter (melted)
- 1 teaspoon salt
- 1 large egg
- 3 ½ to 4 cups all-purpose flour
For Finishing
- 2 tablespoons milk (for brushing)
- Optional: raisins or mini chocolate chips for eyes
Instructions
- Activate the yeast: In a large mixing bowl, combine warm milk, yeast, and a pinch of sugar. Let sit for 5–10 minutes until foamy, indicating the yeast is active.
- Make the dough: Add the remaining sugar, melted butter, salt, egg, and 3 ½ cups of flour to the yeast mixture. Mix until a soft dough forms.
- Knead the dough: Knead by hand or with a dough hook for about 5–7 minutes, adding more flour as needed until the dough becomes smooth and elastic.
- First rise: Place the dough in a greased bowl, cover it, and let it rise in a warm spot for 1 hour or until doubled in size.
- Shape the bunnies: Punch down the dough and divide it into 12 equal pieces. Shape each piece into a smooth ball for the bunny body. Pinch off small pieces to roll into ear shapes and attach at the top. Add raisins or chocolate chips as eyes, pressing gently into the dough.
- Second rise: Place the shaped bunnies on a parchment-lined baking sheet, cover, and let rise for another 20–30 minutes.
- Preheat and brush: Preheat oven to 375°F. Brush each bun with milk for a beautiful golden finish.
- Bake: Bake for 12–15 minutes or until golden brown.
- Cool and serve: Let the buns cool slightly before serving. Optionally, drizzle with icing for extra sweetness.
Notes
- Perfect for Easter brunch or springtime snacks.
- Add orange or lemon zest to the dough for a citrus flavor.
- Drizzle with icing after baking for sweet bunny buns.
- Ensure milk is warm but not hot to activate yeast properly.
- Use a light hand while attaching ears to prevent tearing the dough.
- Prep Time: 25 minutes
- Cook Time: 15 minutes
- Category: Bread
- Method: Baking
- Cuisine: American
Nutrition
- Serving Size: 1 bun
- Calories: 180
- Sugar: 4g
- Sodium: 160mg
- Fat: 5g
- Saturated Fat: 3g
- Unsaturated Fat: 2g
- Trans Fat: 0g
- Carbohydrates: 28g
- Fiber: 1g
- Protein: 5g
- Cholesterol: 30mg


