Japanese Egg Sandwich (Tamago Sando) Recipe
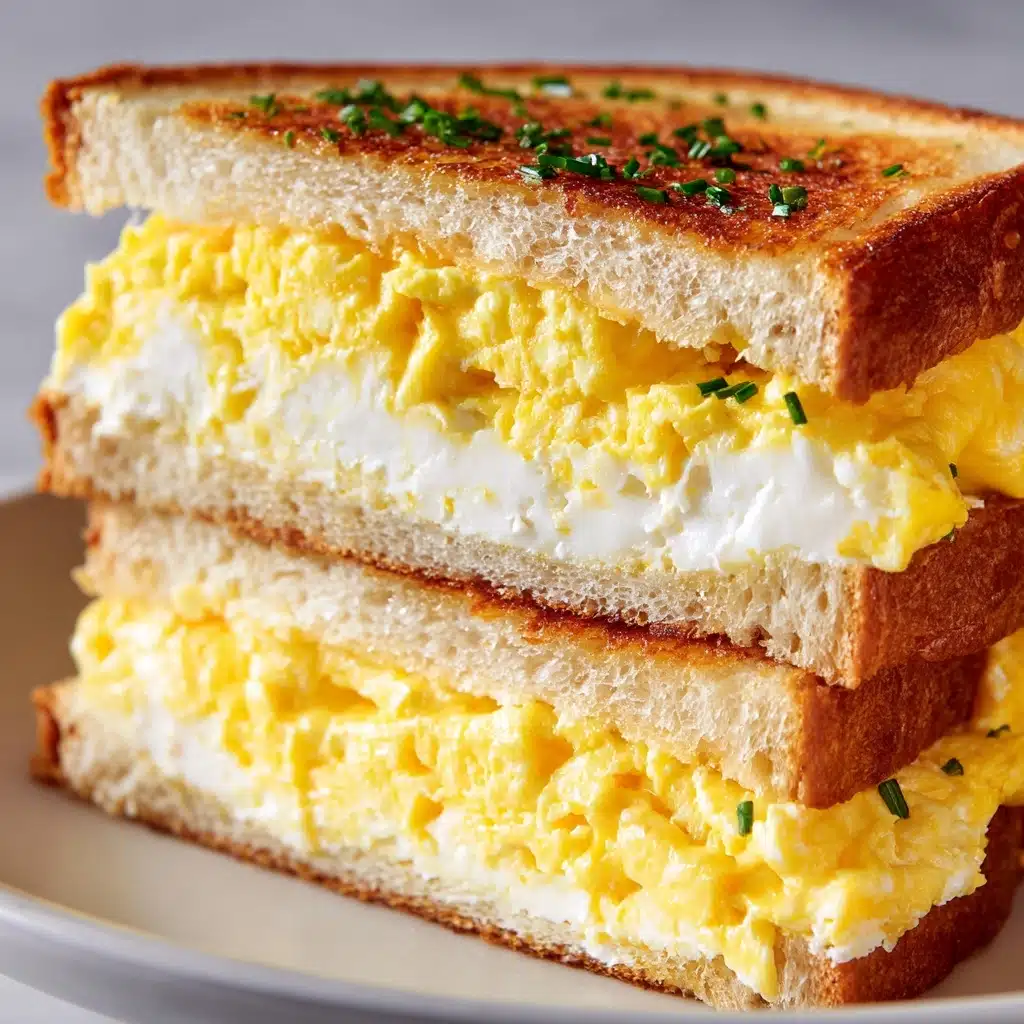
The Japanese Egg Sandwich (Tamago Sando) is the ultimate comfort food that’s as simple as it looks, yet never fails to impress. Imagine biting into fluffy, crustless white bread, perfectly hugging a creamy, slightly sweet egg salad that’s so silky it almost melts in your mouth. It’s a lunchtime staple in Japan, adored for its lightness and satisfying richness, and the secret lies in the balance: just the right amount of Kewpie mayo, a hint of sugar, and the softest milk bread. Whether you’re looking for a new lunchbox favorite or a delightful treat for your next picnic, once you try the Japanese Egg Sandwich (Tamago Sando), it’ll be hard to go back to any other egg sandwich.
Ingredients You’ll Need
With just a handful of pantry and fridge staples, you can create the iconic Japanese Egg Sandwich (Tamago Sando). Every ingredient plays a starring role, from the velvety mayo to the pillowy bread, ensuring every bite is full of flavor and texture.
- 6 large eggs: The heart of the sandwich, providing a rich, creamy base when cooked and mashed just right.
- 1/4 cup Japanese mayonnaise (such as Kewpie): Adds signature tang and depth, making the filling luxuriously smooth.
- 1/2 teaspoon sugar: Balances the richness of the eggs and mayo with a gentle touch of sweetness.
- 1/4 teaspoon salt: Enhances all the flavors and keeps the sandwich from tasting flat.
- 1/4 teaspoon white pepper: Lends just enough gentle heat without overpowering the delicate filling.
- 6 slices soft white bread (preferably milk bread or brioche): The classic choice for authentic Tamago Sando, giving the sandwich its cloud-like bite.
- 1 tablespoon softened butter (optional): For that extra layer of richness if you want to go all out.
- Chopped chives or parsley for garnish (optional): Adds a pop of color and a fresh, herby finish.
How to Make Japanese Egg Sandwich (Tamago Sando)
Step 1: Boil and Cool the Eggs
Start by placing your eggs in a pot and covering them with cold water. Bring everything to a gentle boil, then lower the heat and let the eggs simmer for 10 minutes. This timing gives you yolks that are set yet still moist, which is the secret to that creamy Japanese Egg Sandwich (Tamago Sando) filling. As soon as they’re done, transfer the eggs to an ice bath so they stop cooking and are easy to peel.
Step 2: Peel and Prepare the Eggs
Once the eggs are cool, peel them carefully. Set one egg aside for a pretty presentation later, and finely chop the remaining five eggs. This mix of textures — some bits creamy, some chunky — is what makes the filling so tasty and satisfying.
Step 3: Make the Egg Salad Filling
In a medium bowl, combine the chopped eggs with Japanese mayonnaise, sugar, salt, and white pepper. Mash everything together until the filling is smooth, creamy, and spreadable. The Kewpie mayo gives it a subtle tang and silkiness that’s impossible to resist in a Japanese Egg Sandwich (Tamago Sando).
Step 4: Prep and Butter the Bread (Optional)
If you want that extra-rich flavor, lightly butter one side of each bread slice. This little touch adds even more decadence to your sandwich, but it’s totally optional — the classic version is delicious either way. Soft, fluffy bread is key, so use the freshest loaf you can find.
Step 5: Assemble the Sandwiches
Spread the egg salad evenly onto three slices of bread. If you saved the sixth egg, slice it in half or into rounds and nestle it in the center for a beautiful, layered look. Top each sandwich with the remaining slices of bread, press gently, then trim off the crusts for that iconic Tamago Sando shape. Slice each sandwich in half or into thirds, and you’re ready to enjoy!
How to Serve Japanese Egg Sandwich (Tamago Sando)

Garnishes
To make your Japanese Egg Sandwich (Tamago Sando) extra inviting, sprinkle a few chopped chives or parsley over the cut edges. This not only adds a spark of color but also a hint of freshness that pairs beautifully with the creamy filling.
Side Dishes
While Tamago Sando is absolutely satisfying on its own, it’s also lovely with a simple green salad, a small bowl of miso soup, or some pickled vegetables for crunch. These sides balance out the richness and make it a complete meal.
Creative Ways to Present
Japanese Egg Sandwich (Tamago Sando) shines on a bento lunch tray, cut into neat rectangles or triangles. For parties, serve them as crustless finger sandwiches on a pretty platter, or wrap each piece in parchment for an adorable picnic treat. Stack the sandwiches high and watch them disappear!
Make Ahead and Storage
Storing Leftovers
If you have any leftover Japanese Egg Sandwich (Tamago Sando), wrap them snugly in plastic wrap and store in the fridge. They’ll stay fresh for up to 24 hours, making them perfect for make-ahead lunches or snacks.
Freezing
Freezing isn’t recommended for these sandwiches, since the creamy egg filling and soft bread can turn watery and lose their pleasant texture once thawed. For the best experience, enjoy them fresh or refrigerated only briefly.
Reheating
These sandwiches are meant to be enjoyed chilled or at room temperature, so there’s no reheating needed. In fact, a cool Japanese Egg Sandwich (Tamago Sando) is especially refreshing and highlights the creamy filling best.
FAQs
Can I use regular mayonnaise instead of Kewpie?
Absolutely! While Kewpie delivers a signature tang and richness, regular mayo works just fine in a pinch. If you want to mimic Kewpie, add a tiny splash of rice vinegar and a pinch of sugar to your regular mayonnaise.
What type Lunch
Soft, fluffy white bread is classic for Japanese Egg Sandwich (Tamago Sando), with Japanese milk bread (shokupan) being the gold standard. Brioche also works beautifully, but any pillowy white sandwich bread will do in a pinch.
Can I add vegetables or other mix-ins?
Traditionally, Tamago Sando keeps things simple, but feel free to get creative! Finely chopped scallions, dill, or even a bit of finely diced cucumber can add extra flavor and crunch.
How do I keep the sandwiches from getting soggy?
To prevent sogginess, make sure your egg salad isn’t too wet and consider buttering the bread, as the butter acts as a barrier. Also, assemble the sandwiches close to serving time for the freshest result.
Is Japanese Egg Sandwich (Tamago Sando) suitable for vegetarians?
Yes, this sandwich is naturally vegetarian, making it a wonderful option for a meat-free lunch or snack. Just double-check your mayonnaise if you’re avoiding certain additives or preservatives.
Final Thoughts
If you’re looking for a new lunchtime obsession, you simply have to try the Japanese Egg Sandwich (Tamago Sando). It’s the kind of recipe that’s easy to master, endlessly satisfying, and sure to become a cherished favorite in your kitchen. Happy sandwich making!
Print
Japanese Egg Sandwich (Tamago Sando) Recipe
- Total Time: 20 minutes
- Yield: 3 sandwiches 1x
- Diet: Vegetarian
Description
This Japanese Egg Sandwich, known as Tamago Sando, is a simple yet delightful lunch or snack option featuring a creamy, lightly seasoned egg salad between soft, fluffy milk bread slices. The sandwich is chilled and offers a perfect balance of savory and slightly sweet flavors, making it a beloved bento and tea-time treat in Japan.
Ingredients
Egg Filling
- 6 large eggs
- 1/4 cup Japanese mayonnaise (such as Kewpie)
- 1/2 teaspoon sugar
- 1/4 teaspoon salt
- 1/4 teaspoon white pepper
Bread and Garnish
- 6 slices soft white bread (preferably milk bread or brioche)
- 1 tablespoon softened butter (optional)
- Chopped chives or parsley for garnish (optional)
Instructions
- Boil the Eggs: Place the eggs in a pot and cover them with cold water. Bring the water to a boil, then reduce the heat and let the eggs simmer gently for 10 minutes to ensure they are hard-boiled.
- Cool and Peel: Transfer the boiled eggs to an ice bath to cool completely, which stops the cooking process and makes peeling easier. Once cool, peel all the eggs carefully.
- Prepare the Egg Salad: Set aside one egg for slicing later. Finely chop the remaining five eggs and place them in a bowl. Mash them well while mixing in the Japanese mayonnaise, sugar, salt, and white pepper until smooth and creamy.
- Slice Reserved Egg: Slice the reserved whole egg into halves or rounds to use as a decorative topping within the sandwiches if desired.
- Optional Buttering: Lightly spread softened butter on one side of each bread slice to add richness and prevent sogginess.
- Assemble the Sandwich: Evenly spread the egg filling on three slices of bread (on the buttered side, if used). Place the sliced egg on top of the filling before closing the sandwich with the remaining bread slices, buttered side down if applicable.
- Trim and Cut: Press the sandwiches gently to seal and trim off the crusts for a classic, neat appearance. Cut each sandwich in half or into thirds as preferred.
- Serve: Serve the sandwiches chilled or at room temperature for a fresh and satisfying meal or snack.
Notes
- Use Kewpie Japanese mayonnaise for the authentic flavor and creaminess; however, regular mayonnaise can be used in a pinch.
- Japanese milk bread or brioche offers the softest texture, but any soft, fluffy white bread will suffice.
- These sandwiches hold up well in lunch boxes and make perfect tea-time snacks.
- Feel free to garnish with chopped chives or parsley for added color and freshness.
- Prep Time: 10 minutes
- Cook Time: 10 minutes
- Category: Lunch
- Method: No-Cook (after boiling eggs)
- Cuisine: Japanese
Nutrition
- Serving Size: 1 sandwich
- Calories: 340
- Sugar: 4g
- Sodium: 420mg
- Fat: 22g
- Saturated Fat: 5g
- Unsaturated Fat: 15g
- Trans Fat: 0g
- Carbohydrates: 22g
- Fiber: 1g
- Protein: 11g
- Cholesterol: 225mg


