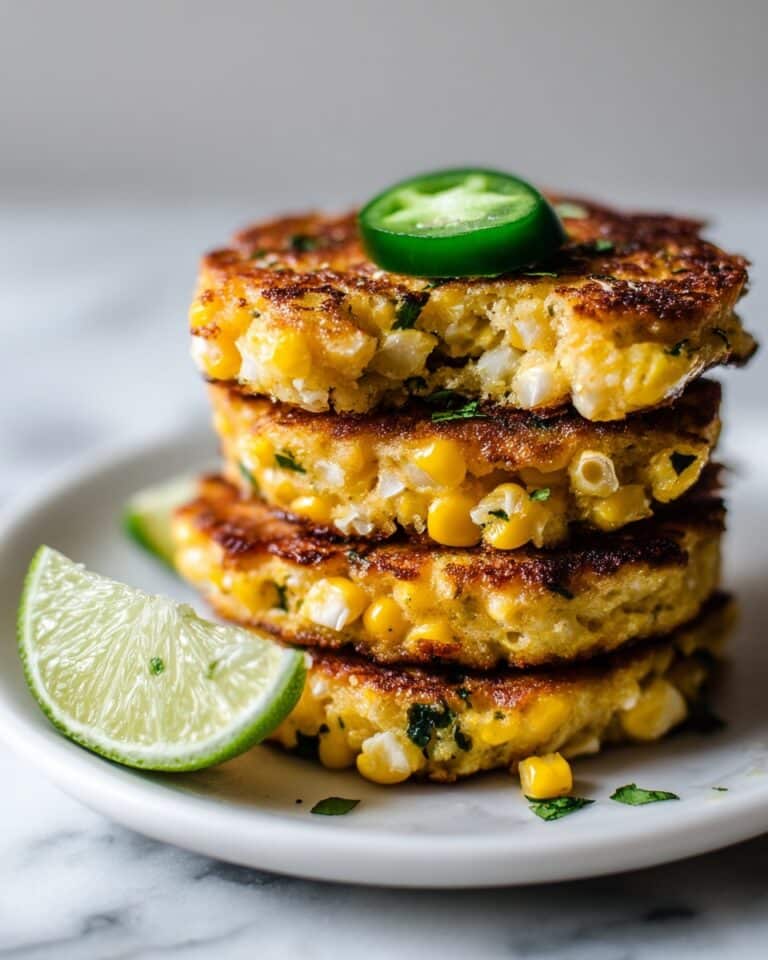
Cherry Cheesecake Tacos Recipe
If you’re searching for a show-stopping dessert that combines the creamy indulgence of cheesecake with the playful crunch of a cinnamon-sugar shell, look no further than this Cherry Cheesecake Tacos Recipe. Each bite brings together the tart sweetness of cherry pie filling, velvety cheesecake mousse, and a crispy taco shell dusted with cinnamon sugar. It’s a whimsical treat that’s perfect for parties, family gatherings, or whenever you want to surprise your loved ones with something a little different.
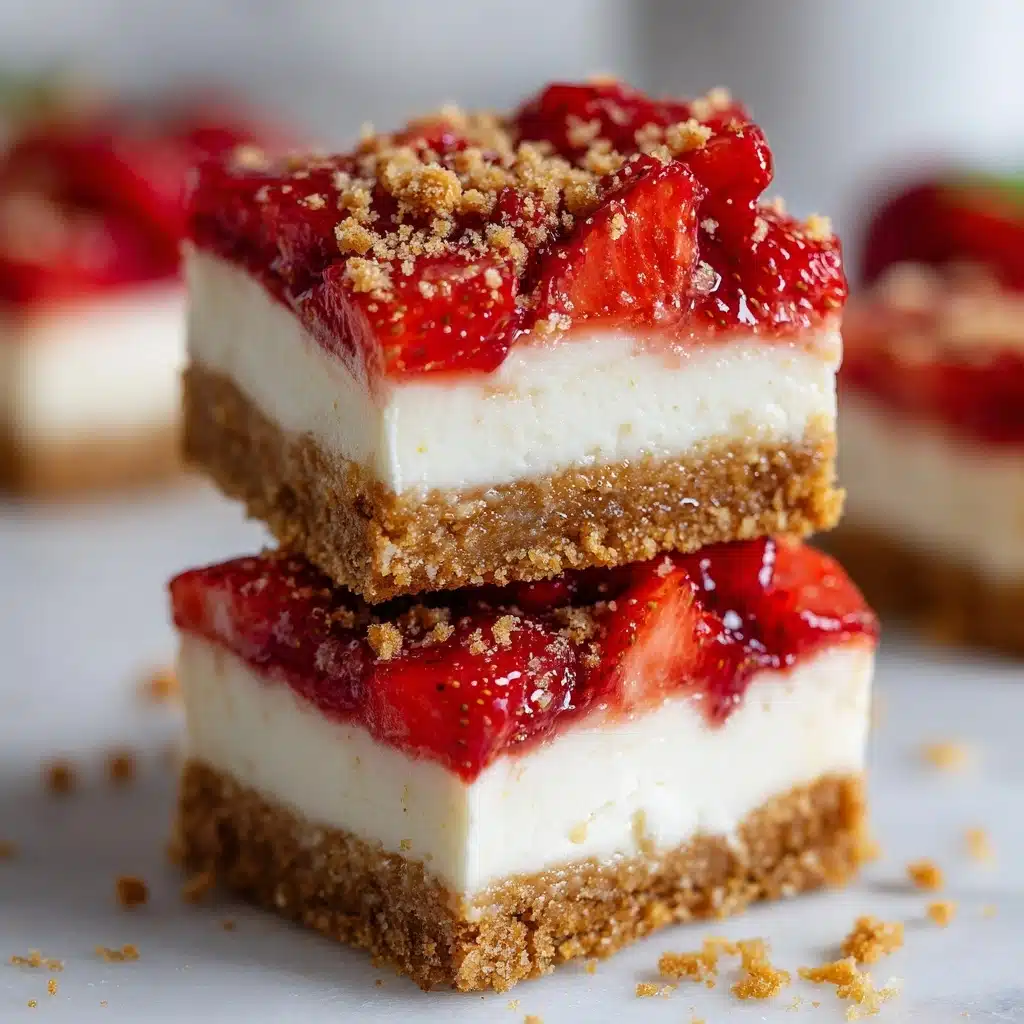
Ingredients You’ll Need
One of the best things about this Cherry Cheesecake Tacos Recipe is that every ingredient serves a delicious purpose. From the buttery shells to the dreamy filling and bright cherry topping, each component is both simple and essential in creating the ultimate dessert taco experience.
- Flour Tortillas: Small tortillas work best for forming those perfect, handheld taco shells.
- Unsalted Butter: Brushing the tortillas with melted butter helps achieve a deep golden crisp and lets the cinnamon sugar stick beautifully.
- Granulated Sugar: Delivers a sweet crunch to the shell, balancing the tangy filling.
- Ground Cinnamon: Adds cozy warmth and classic churro flavor to every bite.
- Cream Cheese: Make sure it’s softened for a silky-smooth cheesecake filling.
- Powdered Sugar: Sweetens the filling while keeping it light and airy.
- Vanilla Extract: A splash of vanilla brings depth and that signature cheesecake aroma.
- Heavy Whipping Cream: Whipped to stiff peaks, this gives the filling its luscious, mousse-like texture.
- Canned Cherry Pie Filling: Tart cherries in syrup provide that iconic topping and vibrant color.
- Crushed Graham Crackers (optional): For a little extra crunch and nostalgic cheesecake flair.
- White Chocolate Drizzle (optional): Adds a touch of elegance and sweetness if you want to get fancy!
How to Make Cherry Cheesecake Tacos Recipe
Step 1: Prepare the Taco Shells
Start by preheating your oven to 400°F. Lay out your small flour tortillas on a clean surface, then brush both sides of each one with melted butter. Combine the cinnamon and sugar in a small bowl, and generously sprinkle it over both sides of the tortillas. Flip a muffin tin upside down, and carefully drape each tortilla in the spaces between the cups to shape them like taco shells. Bake for 8 to 10 minutes, or until crisp and beautifully golden. Set aside to cool completely before filling to ensure they stay crisp.
Step 2: Make the Cheesecake Filling
In a mixing bowl, beat together the softened cream cheese, powdered sugar, and vanilla extract until completely smooth and creamy. In a separate bowl, whip the heavy cream with a hand mixer or stand mixer until stiff peaks form. Gently fold the whipped cream into the cream cheese mixture—this creates a light, airy filling that’s simply irresistible. Take care not to deflate the whipped cream as you fold.
Step 3: Fill the Taco Shells
Once your taco shells are cool, it’s time to assemble! You can either spoon or pipe the cheesecake filling into each shell, filling them generously but not so much that they overflow. The filling should be fluffy and hold its shape nicely inside the shell.
Step 4: Add the Cherry Topping
Spoon a generous amount of cherry pie filling over the cheesecake layer in each taco shell, making sure to get plenty of those glossy cherries in every taco. The combination of tart cherries and rich cheesecake is pure magic.
Step 5: Garnish and Serve
If you want to take your Cherry Cheesecake Tacos Recipe to the next level, sprinkle crushed graham crackers on top or drizzle with melted white chocolate. Serve immediately for the crispiest shells, or chill for about 30 minutes if you prefer a firmer filling.
How to Serve Cherry Cheesecake Tacos Recipe
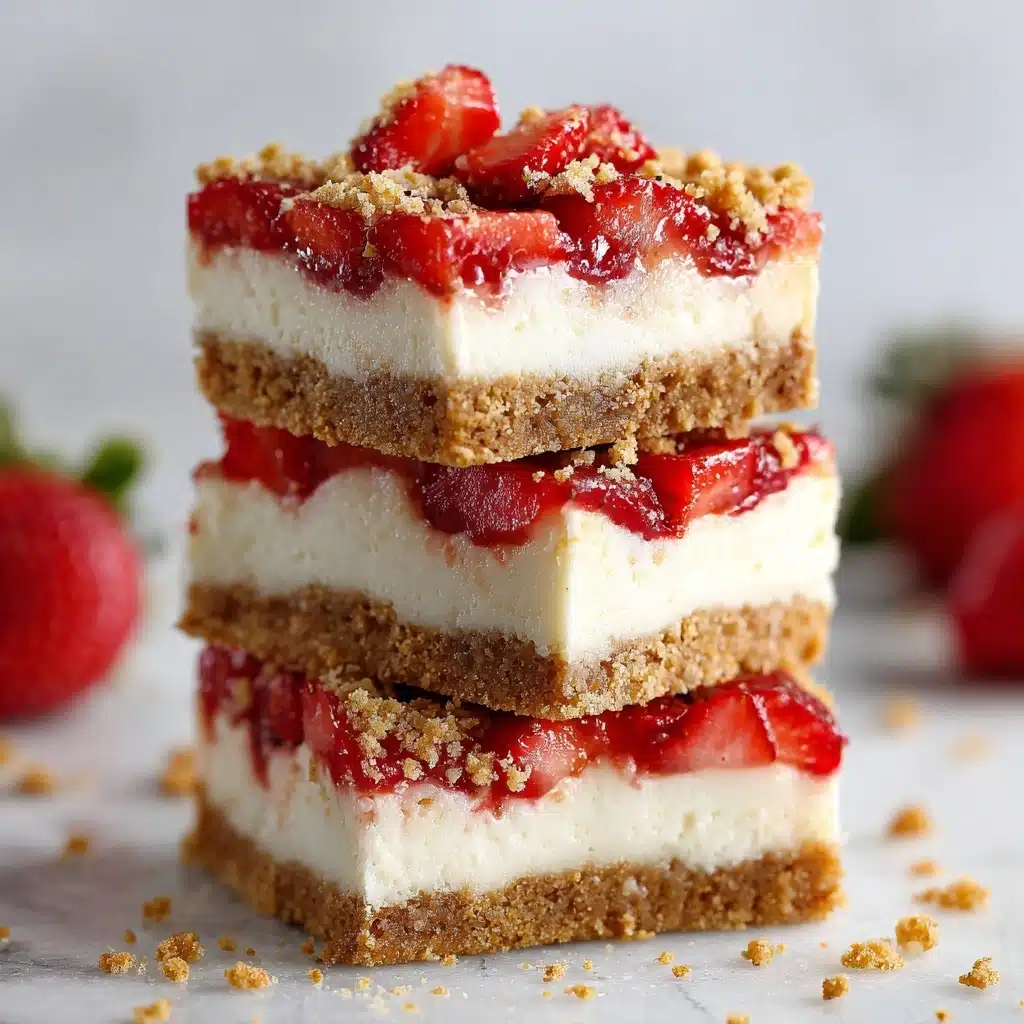
Garnishes
This dessert is all about the finishing touches! Crushed graham crackers add a classic cheesecake crunch, while a drizzle of white chocolate makes each taco look bakery-worthy. For a pop of color, toss on a few fresh mint leaves or a dusting of powdered sugar just before serving.
Side Dishes
While these tacos are a showstopper on their own, you can serve them alongside a scoop of vanilla ice cream or a handful of fresh berries for an extra treat. If you’re hosting a party, set them out with other finger-friendly desserts for a fun, interactive dessert bar.
Creative Ways to Present
Arrange your Cherry Cheesecake Tacos Recipe on a rustic wooden board for a casual look, or stand them upright in a taco holder for added flair. For individual servings, wrap the base in a cute piece of parchment or colorful napkin to catch any drips and make them easy to grab and go.
Make Ahead and Storage
Storing Leftovers
If you happen to have any leftovers, store the shells and filling separately for best results. Keep the taco shells in an airtight container at room temperature, and the cheesecake filling covered in the refrigerator for up to 3 days. This keeps everything fresh and prevents sogginess.
Freezing
The cheesecake filling can be made ahead and frozen in an airtight container for up to one month. Thaw it overnight in the refrigerator and give it a quick whip before using. However, it’s best not to freeze the assembled tacos, as the shells can lose their crispness after thawing.
Reheating
To re-crisp any taco shells that have softened, pop them back in a 350°F oven for 2 to 3 minutes. Allow them to cool completely before filling. The cheesecake filling is best served cold, so no reheating is required for that part.
FAQs
Can I use corn tortillas instead of flour?
Flour tortillas are preferred for their mild flavor and soft texture, which crisps up perfectly in the oven. Corn tortillas tend to be more brittle and can break when shaped, but you can experiment if you love their flavor.
Is it possible to make these tacos gluten-free?
Absolutely! Simply use your favorite gluten-free flour tortillas and double-check that your other ingredients, like the cherry pie filling, are gluten-free. The rest of the Cherry Cheesecake Tacos Recipe remains the same.
Can I use homemade cherry pie filling?
Yes, homemade cherry pie filling is a fantastic upgrade! Just be sure it’s thick enough to sit nicely atop the cheesecake filling and not too runny to prevent soggy shells.
What other fillings can I try?
While cherry is classic, this recipe is super adaptable. Swap in blueberry, strawberry, or even lemon curd for a different twist. The base cheesecake filling pairs beautifully with all sorts of fruity toppings.
How far in advance can I assemble the tacos?
For the crispiest shells, assemble the tacos just before serving. If you need to prep ahead, you can fill the shells up to 30 minutes before guests arrive and keep them refrigerated, but any longer might cause the shells to soften.
Final Thoughts
If you’re ready to wow your friends and family with something unique, the Cherry Cheesecake Tacos Recipe is sure to be a hit. Each bite delivers a fun mix of textures and flavors that’ll have everyone reaching for seconds. Don’t be surprised if it becomes your new favorite party dessert!
Print
Cherry Cheesecake Tacos Recipe
- Total Time: 30 minutes
- Yield: 6 cheesecake tacos 1x
- Diet: Non-Vegetarian
Description
Delight in these Cherry Cheesecake Tacos featuring crispy cinnamon sugar taco shells filled with a light and fluffy no-bake cheesecake filling, topped with sweet cherry pie filling. Perfect for a fun and festive dessert that’s easy to make and sure to impress.
Ingredients
For the Taco Shells:
- 6 small flour tortillas
- 1/4 cup unsalted butter, melted
- 1/4 cup granulated sugar
- 1 teaspoon ground cinnamon
For the Cheesecake Filling:
- 8 oz cream cheese, softened
- 1/2 cup powdered sugar
- 1 teaspoon vanilla extract
- 1 cup heavy whipping cream
For Topping:
- 1 cup canned cherry pie filling
- Optional: crushed graham crackers or white chocolate drizzle
Instructions
- Prepare the taco shells: Preheat your oven to 400°F (200°C). Lightly brush both sides of each flour tortilla with melted butter. In a small bowl, combine the granulated sugar and ground cinnamon, then sprinkle the mixture evenly over both sides of the tortillas. Flip an empty muffin tin upside down and tuck each tortilla between the spaces of the muffin cups to form a taco shell shape. Bake for 8–10 minutes or until the shells turn golden and crisp. Remove from oven and let cool completely before filling.
- Make the cheesecake filling: In a mixing bowl, beat the softened cream cheese, powdered sugar, and vanilla extract together until smooth and creamy. In a separate bowl, whip the heavy whipping cream until stiff peaks form. Gently fold the whipped cream into the cream cheese mixture, ensuring everything is well combined but still light and fluffy.
- Assemble the tacos: Spoon or pipe the cheesecake filling into the cooled taco shells. Top each taco generously with the cherry pie filling. For extra texture and flavor, optionally garnish with crushed graham crackers or drizzle melted white chocolate over the top. Serve immediately for a creamy texture or chill for 30 minutes to let the filling set firmer.
Notes
- These cheesecake tacos can be prepared ahead of time and assembled just before serving to maintain shell crispiness.
- Feel free to substitute the cherry pie filling with other fruit pie fillings such as blueberry or strawberry for variety.
- For extra crunch and decoration, dip the edges of the taco shells in melted chocolate and sprinkle with crushed nuts.
- Prep Time: 20 minutes
- Cook Time: 10 minutes
- Category: Dessert
- Method: Baking, No-Bake
- Cuisine: American
Nutrition
- Serving Size: 1 taco
- Calories: 330
- Sugar: 20 g
- Sodium: 200 mg
- Fat: 21 g
- Saturated Fat: 13 g
- Unsaturated Fat: 7 g
- Trans Fat: 0 g
- Carbohydrates: 31 g
- Fiber: 1 g
- Protein: 4 g
- Cholesterol: 60 mg

