Easter Bunny Button Cookies Recipe
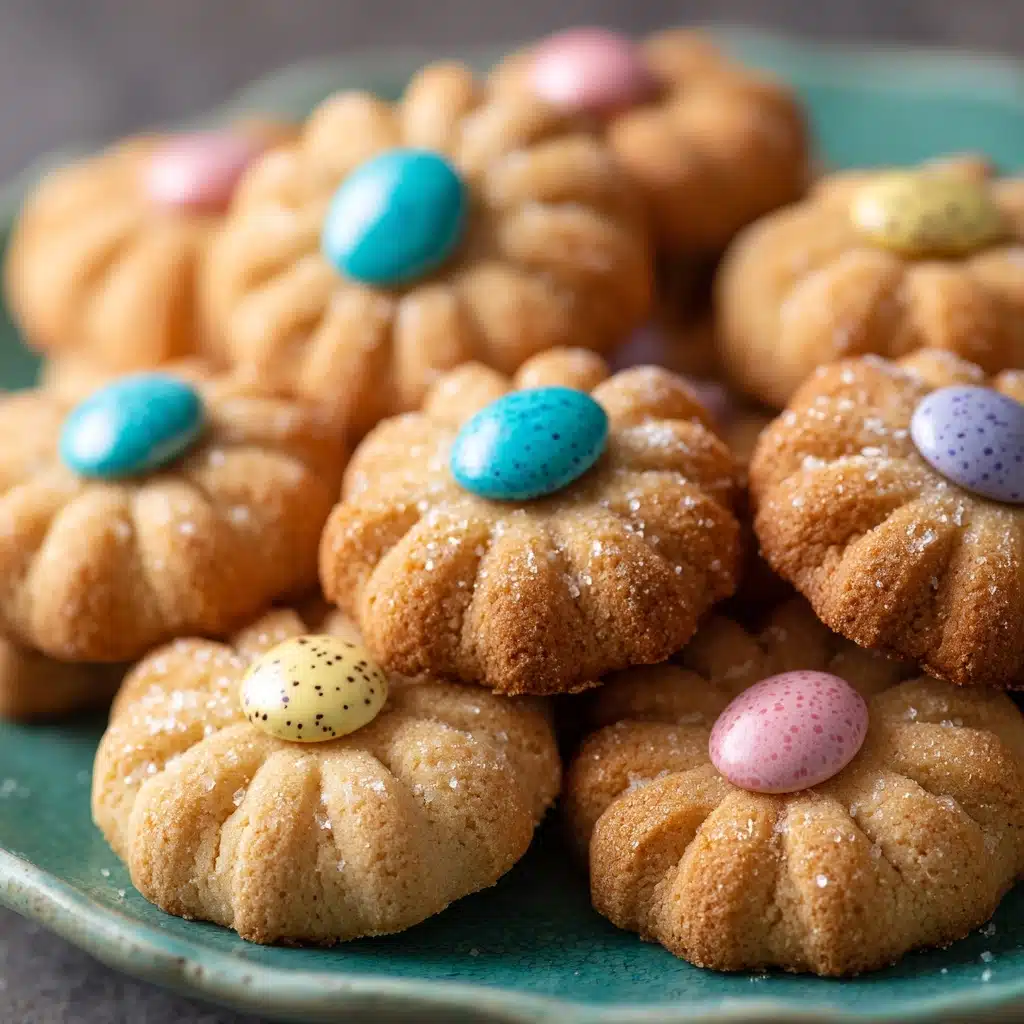
Easter Bunny Button Cookies are the kind of treat that instantly brings a smile to everyone’s face, whether you’re five or fifty! These adorable, buttery little cookies are rolled in sparkling sanding sugar and topped with a festive Easter chocolate candy, making them the ultimate sweet bite for your spring celebrations. With a wonderfully tender crumb and a pop of chocolate in every bite, they’re as fun to make as they are to eat—get ready to fall in love with this new holiday tradition!
Ingredients You’ll Need
The magic of Easter Bunny Button Cookies is that you only need a handful of pantry staples to create something truly special. Each ingredient adds its own charm, from the rich butter to the cheerful sanding sugar, so don’t skip any step!
- Unsalted butter (1 cup, softened): The backbone of these cookies, lending a melt-in-your-mouth texture and rich, buttery flavor.
- Sugar (1 cup): Adds sweetness and helps the cookies achieve that soft, tender bite we all love.
- Egg yolks (2 large): Give the dough extra richness and help bind everything together for a smooth, cohesive cookie.
- Vanilla extract (1 tsp): Infuses warmth and depth, making the cookies fragrant and comforting.
- All-purpose flour (2 ½ cups): Provides structure, balancing the richness of the butter and egg yolks.
- Sanding sugar: For rolling; gives each cookie a festive sparkle and satisfying crunch on the outside.
- Easter chocolate candy (mini eggs or chocolate bunnies): The crowning touch! Adds a burst of chocolate and brings those fun, holiday vibes.
How to Make Easter Bunny Button Cookies
Step 1: Prepare the Cookie Dough
Start by preheating your oven to 350°F (175°C) and lining a baking sheet with parchment paper—this ensures your cookies bake evenly and don’t stick. In a large mixing bowl, beat together the softened butter and sugar until the mixture is light and fluffy. This step is crucial for creating the tender, airy texture that makes Easter Bunny Button Cookies so irresistible.
Step 2: Add Egg Yolks and Vanilla
Once your butter and sugar are perfectly creamed, add in the egg yolks and vanilla extract. Mix until everything is smooth and well combined. The yolks add rich flavor and help the dough come together beautifully, while the vanilla gives your cookies that classic, homey aroma.
Step 3: Incorporate the Flour
Gradually mix in the all-purpose flour, stirring just until the dough forms. Don’t overmix; you want to keep the dough tender. At this point, the dough should be soft but not sticky, making it easy to handle for shaping.
Step 4: Shape and Roll the Cookies
Take a small scoop of dough and roll it between your palms to form a 1-inch ball. Then, roll each ball in sanding sugar to coat them all over—this is where the cookies get their signature sparkle and crunch! Place each ball onto your prepared baking sheet, leaving about 2 inches of space between them.
Step 5: Add the Easter Chocolate Candy
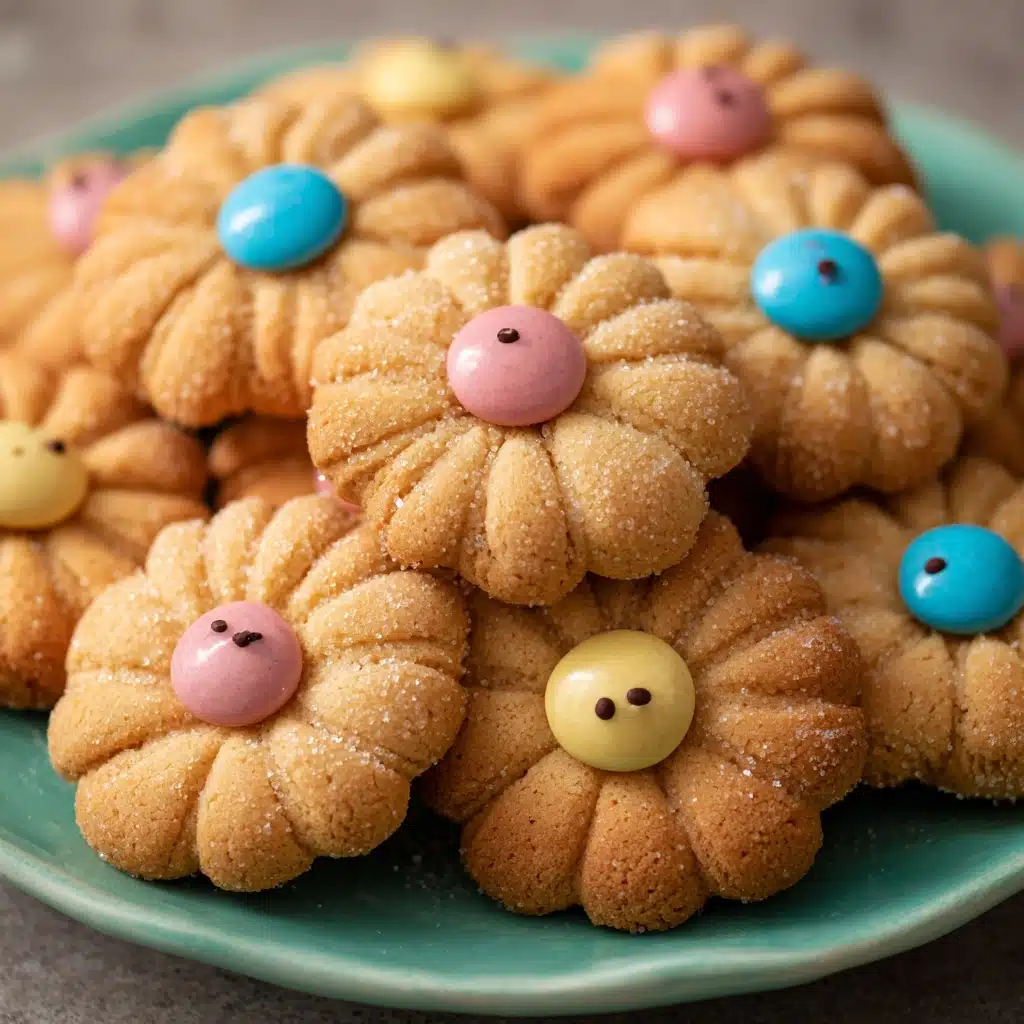
Now for the fun part! Gently press an Easter chocolate candy—whether it’s a mini egg or a little bunny—into the center of each dough ball. This not only makes the cookies look adorable, it also infuses each bite with a pop of chocolatey goodness.
Step 6: Bake the Cookies
Bake the cookies in your preheated oven for 10-12 minutes, or until the edges are just starting to turn golden. Watch them closely toward the end so they stay soft and don’t overbake. The smell wafting through your kitchen at this point is pure heaven!
Step 7: Cool and Serve
Let the cookies cool on the baking sheet for a few minutes before transferring them to a wire rack to cool completely. This helps them set up perfectly. Once cooled, pile your Easter Bunny Button Cookies onto a platter and get ready for the compliments to roll in!
How to Serve Easter Bunny Button Cookies
Garnishes
For a touch of extra festive flair, try sprinkling your cookies with a little more sanding sugar right after baking, or drizzle them with a bit of white chocolate. Edible glitter or pastel sprinkles also make these cookies pop and add a playful, holiday sparkle.
Side Dishes
Easter Bunny Button Cookies are delightful all on their own, but they pair beautifully with a glass of cold milk, a mug of hot cocoa, or a fresh fruit platter. For an Easter brunch, serve them alongside lemon bars or carrot cake for a sweet array that will wow your guests.
Creative Ways to Present
Stack these cookies in clear cellophane bags tied with pastel ribbons for charming party favors, or arrange them in a basket lined with colorful tissue paper as a centerpiece for your Easter table. You can even use them as edible place cards by writing guests’ names on a small tag and attaching it to each cookie bag!
Make Ahead and Storage
Storing Leftovers
Keep your Easter Bunny Button Cookies fresh by storing them in an airtight container at room temperature. They’ll stay delicious for up to five days, making them perfect for prepping ahead of your holiday festivities.
Freezing
These cookies freeze like a dream! Arrange cooled cookies in a single layer on a baking sheet to freeze, then transfer to a freezer-safe container with parchment between layers. They’ll keep well for up to two months—just thaw at room temperature when you’re ready to enjoy.
Reheating
If you want to enjoy your cookies warm, simply pop them in a 300°F oven for 2-3 minutes. This revives that just-baked aroma and brings a gentle warmth to the chocolate center, making your Easter Bunny Button Cookies taste freshly made.
FAQs
Can I use different types of chocolate candy on top?
Absolutely! While mini eggs and chocolate bunnies are classic for Easter Bunny Button Cookies, you can get creative with any seasonal or favorite chocolate candies. Try colorful candy-coated chocolates or even peanut butter cups for a fun twist.
What if I don’t have sanding sugar?
No problem! You can use granulated sugar for a subtle sparkle, or skip the rolling step for a more traditional shortbread-style finish. Colored sugars or sprinkles also work great and add extra color.
Can I make the dough ahead of time?
Yes, you can prepare the dough in advance. Wrap it tightly in plastic wrap and refrigerate for up to 48 hours. When you’re ready to bake, let it soften slightly at room temperature before shaping the cookies.
How do I keep the chocolate candy from melting too much?
Press the chocolate gently into the dough before baking, and avoid overbaking the cookies. Letting them cool on the baking sheet also helps the chocolate set up nicely without getting too runny.
Can kids help make these cookies?
Definitely! Easter Bunny Button Cookies are a perfect kitchen project for little hands. Kids love rolling the dough in sugar and pressing in the chocolate candies. It’s a fun way to get the whole family involved in holiday baking.
Final Thoughts
If you’re searching for a treat that’s as delightful to look at as it is to eat, you can’t go wrong with these Easter Bunny Button Cookies. They’re simple, playful, and absolutely delicious—perfect for sharing with loved ones this Easter. Give them a try, and don’t be surprised if they become a new family favorite year after year!
Print
Easter Bunny Button Cookies Recipe
- Total Time: 27 minutes
- Yield: 24 servings 1x
- Diet: Vegetarian
Description
These delightful Easter Bunny Button Cookies are a festive and fun treat perfect for celebrating the holiday. Soft, buttery sugar cookies are rolled in sparkling sanding sugar and topped with colorful Easter chocolate candies, making them both visually appealing and delicious.
Ingredients
Cookie Dough
- 1 cup unsalted butter, softened
- 1 cup sugar
- 2 large egg yolks
- 1 tsp vanilla extract
- 2 ½ cups all-purpose flour
Topping
- Sanding sugar (for rolling)
- Easter chocolate candy (such as mini eggs or chocolate bunnies)
Instructions
- Prepare the Cookie Dough: Preheat your oven to 350°F (175°C) and line a baking sheet with parchment paper to prevent sticking and ensure even baking.
- Cream Butter and Sugar: In a large mixing bowl, beat the softened butter and sugar together until light and fluffy, which helps to create a tender cookie texture.
- Add Egg Yolks and Vanilla: Mix in the egg yolks and vanilla extract until fully combined, adding richness and flavor to the dough.
- Incorporate Flour: Gradually add the all-purpose flour to the wet ingredients, mixing well until a smooth dough forms without overworking it.
- Shape the Cookies: Roll the dough into 1-inch balls using your hands. Then roll each ball in sanding sugar to give a pretty, sparkling coating.
- Arrange on Baking Sheet: Place the sugar-coated dough balls on the prepared baking sheet about 2 inches apart to allow spreading.
- Add Chocolate Candy: Press an Easter-themed chocolate candy gently into the center of each cookie ball to create the ‘button’ effect.
- Bake: Bake the cookies in the preheated oven for 10-12 minutes or until the edges are lightly golden, indicating they are perfectly baked.
- Cool: Remove the cookies from the oven and let them cool on the baking sheet for a few minutes before transferring them to a wire rack to cool completely, ensuring they set nicely.
- Serve and Enjoy: Once cooled, serve these festive Easter Bunny Button Cookies as a fun and charming holiday treat that everyone will love.
Notes
- For best results, use room temperature butter to ensure proper creaming with sugar.
- Do not overmix the dough once flour is added to keep the cookies tender.
- Use a variety of Easter-themed chocolate candies for a colorful and festive look.
- Store cookies in an airtight container at room temperature for up to 5 days.
- These cookies freeze well; freeze baked cookies and thaw at room temperature before serving.
- Adjust baking time slightly based on your oven’s performance to avoid overbaking.
- Prep Time: 15 minutes
- Cook Time: 12 minutes
- Category: Dessert, Cookies
- Method: Baking
- Cuisine: American
Nutrition
- Serving Size: 1 cookie
- Calories: 140 kcal
- Sugar: 10 g
- Sodium: 55 mg
- Fat: 7 g
- Saturated Fat: 4.5 g
- Unsaturated Fat: 2 g
- Trans Fat: 0 g
- Carbohydrates: 18 g
- Fiber: 0.5 g
- Protein: 1.5 g
- Cholesterol: 35 mg


