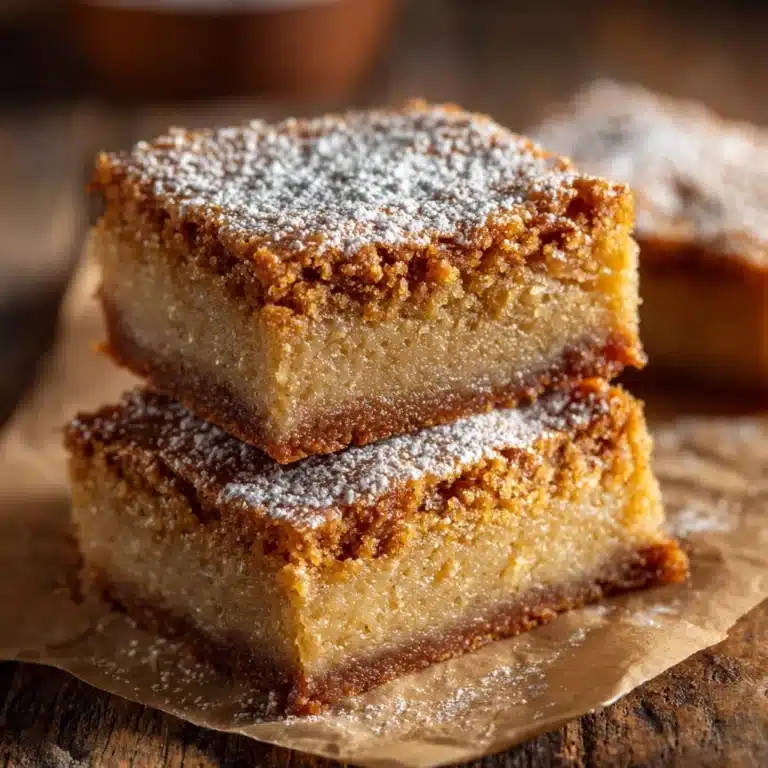
Homemade Energy Bars Packed with Strength and Energy Recipe
If you’re on the hunt for a delicious and wholesome snack that you can feel good about, this Homemade Energy Bars Packed with Strength and Energy Recipe is absolutely going to win your heart. Imagine bite-sized bars bursting with the crunch of toasted nuts, the natural sweetness of dates and honey, and a comforting hint of oats and seeds. These bars are all about combining nutrition with fabulous flavor, making them the perfect pick-me-up whether you’re hitting the gym, working late, or just need a healthy snack to power through your day. I love how quick they come together and how versatile they are—you’ll never reach for store-bought again.

Ingredients You’ll Need
Gathering your ingredients for this recipe is a breeze since each one plays a crucial role in building the perfect balance of taste, texture, and energy. From the crunchy nuts to the sticky sweetness of honey, every bit contributes something unique.
- Cashews (70g or ½ cup): These add a creamy texture and mild sweetness, complementing the blend beautifully.
- Walnuts (70g or ½ cup): Packed with omega-3s, they provide an earthier flavor and a lovely crunch.
- Almonds (70g or ½ cup): Their robust crunch enhances the bite and nuttiness of the bars.
- Pine nuts (40g or ¼ cup): These deliver a buttery note and a subtle richness.
- Hazelnuts (70g or ½ cup): They bring warmth and a toasty aroma that’s irresistible.
- Pumpkin seeds (70g or ⅓ cup): These little powerhouses add texture and an antioxidant boost.
- Dates, pitted (150g or 1 cup): Naturally sweet and sticky, they act as the perfect binder for your bars.
- Oatmeal (50g or ½ cup): Adds wholesome fiber and a bit of chew for satisfying texture.
- Olive oil (3 tablespoons): Helps to meld the ingredients together while adding a gentle richness.
- Salt (½ teaspoon): Balances the sweetness and enhances all the flavors.
- Honey (160ml or ½ cup): This liquid gold brings natural sweetness and a subtle floral aroma.
How to Make Homemade Energy Bars Packed with Strength and Energy Recipe
Step 1: Roast the Nuts
Start by warming a dry frying pan over medium heat and lightly roasting your cashews, walnuts, almonds, pine nuts, and hazelnuts. This process brings out their essential oils, infusing the bars with a deep, toasty flavor. Keep an eye on them so they turn golden but don’t burn, then transfer them to a bowl and set aside.
Step 2: Toast the Pumpkin Seeds
In the same pan, roast the pumpkin seeds for a few minutes until they start to pop—it’s like a little flavor fireworks show! This quick roasting releases their nuttiness and adds a fun crunch to the mix. Set these aside with the other nuts.
Step 3: Soften the Dates
Pop the pitted dates into a bowl of cold water for 15 minutes to soften. This step ensures they’ll blend smoothly with the other ingredients, making your bars naturally sticky and sweet without any refined sugars.
Step 4: Chop the Dates
Drain the water from the dates, give them a quick chop into small bits if they aren’t already, and you’re ready to bring the mixture together in the next steps. This helps distribute the sweetness evenly.
Step 5: Prepare the Oatmeal
Pulse the oatmeal lightly in a food processor or blender until it has a finer texture. Don’t go too far—you want to keep some small pieces for a great bite and chew. This gives your bars a more interesting mouthfeel.
Step 6: Cook the Dates
Heat the olive oil in a frying pan over medium heat and add the chopped dates. Stir frequently as they soften and start to break down, roughly 5 minutes. This gently caramelizes the dates and creates a sticky base to hold everything together.
Step 7: Mix in Nuts, Seeds, and Oatmeal
Once the dates are softened, fold in all of your roasted nuts, toasted pumpkin seeds, and oatmeal. Stir everything well to ensure an even combination. The variance in textures here makes every bite exciting and satisfying.
Step 8: Add Salt and Honey
Sprinkle in the salt to lift the flavors, then drizzle the honey over the mixture. Stir gently to combine, taking care not to overheat so you keep that fresh honey vibrancy. This is the sweet glue that keeps your bars together.
Step 9: Press and Chill
Line a baking dish with parchment paper, lightly greased with olive oil for easy removal, then transfer the mixture into it. Press down firmly with a spoon or your clean hands, creating an even, compact layer. Let it cool to room temperature before popping it into the fridge for at least an hour to set.
Step 10: Slice into Bars and Chill Again
Once firm, use a wet knife to cut the mixture into 12 bars. Return them to the refrigerator for an additional 30 minutes so they can fully set. This final step helps keep their shape and makes them portable.
Step 11: Wrap and Store
Wrap each bar tightly in cling film or your preferred wrap to keep them fresh. Stored in the refrigerator, these bars will stay tasty and ready to energize you whenever needed. You can also freeze them for longer storage.
How to Serve Homemade Energy Bars Packed with Strength and Energy Recipe

Garnishes
While these bars are wonderful as-is, a light dusting of cocoa powder, a sprinkle of shredded coconut, or a few whole nuts on top can elevate their presentation and add a burst of extra flavor. A drizzle of dark chocolate can also take these bars into indulgent territory while keeping them wholesome.
Side Dishes
Pair these energy bars with a fresh fruit salad or a cool yogurt parfait for a balanced snack that satisfies hunger and cravings. They also complement a hot cup of tea or coffee perfectly, turning your snack time into a delightful mini-break.
Creative Ways to Present
Pack these bars in small reusable containers or wrap them individually to toss into lunch boxes, gym bags, or backpacks. For a casual gathering, arrange them on a rustic wooden board with fresh fruit and nuts—guests will love grabbing their own power-packed bite!
Make Ahead and Storage
Storing Leftovers
Once made, keep your homemade bars in an airtight container in the refrigerator where they’ll stay fresh and chewy for up to a week. Their rich nutty flavors deepen with time, so sometimes leftovers taste even better the next day.
Freezing
If you’d like to keep these bars on hand for a longer period, freeze them wrapped tightly in cling film and placed inside an airtight container or freezer bag. Frozen, they maintain their quality for up to a month and thaw quickly at room temperature.
Reheating
These bars are perfect as a cool snack, but if you prefer them a little warm, simply microwave for 10-15 seconds or leave at room temperature to soften. Avoid overheating so you don’t melt the honey or lose the wonderful texture.
FAQs
Can I substitute nuts in this Homemade Energy Bars Packed with Strength and Energy Recipe?
Absolutely! You can switch out any nuts for your favorites or what you have on hand—pecans, macadamia nuts, or even peanuts work well. Just keep the quantity and texture in mind to maintain the balance of flavors.
Are these energy bars suitable for vegans?
They can be! To make this vegan-friendly, replace honey with maple syrup or agave nectar. The bars will stay just as delicious and maintain their sweet, natural binding.
How long can I store these energy bars?
Stored properly in the fridge, these bars last about a week, while freezing extends their shelf life up to a month. Make sure they are wrapped well to prevent drying out or absorbing other fridge odors.
Can I add protein powder to this recipe?
Yes, adding a scoop of your favorite protein powder can boost the nutrition. Mix it with the oatmeal before incorporating into the recipe to ensure even distribution.
Are these bars gluten-free?
To keep these bars gluten-free, use certified gluten-free oats, as some oats can be cross-contaminated. The rest of the ingredients are naturally gluten-free, so it’s a simple swap.
Final Thoughts
I genuinely believe this Homemade Energy Bars Packed with Strength and Energy Recipe will become one of your go-to snacks, packed with wholesome ingredients and vibrant flavors that will fuel your day. Whether you’re preparing for a busy morning or need a satisfying post-workout bite, these bars are a fantastic way to nourish yourself with minimal fuss. Give them a try, share with loved ones, and enjoy every powerful bite!
Print
Homemade Energy Bars Packed with Strength and Energy Recipe
- Total Time: 25 minutes
- Yield: 12 servings 1x
- Diet: Vegetarian
Description
These Homemade Energy Bars are a delicious and nutritious snack packed with a variety of nuts, seeds, dates, and oats. Roasting the nuts and seeds enhances their flavor, while the combination of honey and olive oil binds the ingredients together to form bars that provide a natural source of energy and strength. Perfect for a quick breakfast, pre- or post-workout snack, or a healthy treat on the go.
Ingredients
Nuts and Seeds
- 70g (½ cup) cashews
- 70g (½ cup) walnuts
- 70g (½ cup) almonds
- 40g (¼ cup) pine nuts
- 70g (½ cup) hazelnuts
- 70g (⅓ cup) pumpkin seeds
Other Ingredients
- 150g (1 cup) dates, pitted
- 50g (½ cup) oatmeal
- 3 tablespoons olive oil
- ½ teaspoon salt
- 160ml (½ cup) honey
Instructions
- Roast the Nuts: In a dry frying pan over medium heat, lightly roast the cashews, walnuts, almonds, pine nuts, and hazelnuts until fragrant and slightly golden. Remove from heat and set aside.
- Roast the Pumpkin Seeds: Using the same pan, roast the pumpkin seeds for a few minutes until they start to pop. Set aside.
- Soften the Dates: Soak the dates in cold water for 15 minutes to soften them.
- Prepare Dates: Drain the dates, remove any pits if necessary, and chop into small pieces.
- Process the Oatmeal: Use a food processor or mixer to pulse the oatmeal until finer in texture, leaving some small pieces for added crunch.
- Heat Olive Oil: Warm 3 tablespoons of olive oil in a frying pan over medium heat.
- Cook the Dates: Add the chopped dates to the pan and cook, stirring frequently, for about 5 minutes until softened and beginning to break down.
- Add Nuts, Seeds, and Oatmeal: Stir in the roasted nuts, pumpkin seeds, and processed oatmeal, mixing well with the softened dates.
- Season and Sweeten: Add ½ teaspoon salt and pour in 160ml honey. Mix everything together gently, taking care not to overheat the honey to preserve its nutrients.
- Prepare the Mold: Line a baking dish or mold with parchment paper greased with olive oil or use siliconized parchment paper for easier removal.
- Form the Bars: Press the mixture firmly into the lined dish using the back of a spoon or your hands to create an even, compact surface.
- Cool and Chill: Allow the mixture to cool at room temperature, then refrigerate for 1 hour to set.
- Cut the Bars: After chilling, cut the mixture into individual bars using a wet knife to prevent sticking.
- Final Chill: Return the bars to the refrigerator for an additional 30 minutes to fully firm up.
- Store the Bars: Wrap each bar in cling film for easy storage and portability. Keep refrigerated for freshness or freeze for longer storage.
Notes
- Use siliconized parchment paper for easier removal of the bars from the mold.
- Do not overheat the honey as it helps retain its natural nutrients.
- Soaking the dates helps soften them and makes blending easier.
- Store the bars refrigerated and consume within a week for best freshness.
- Freezing the bars extends their shelf life for up to 3 months.
- Prep Time: 10 minutes
- Cook Time: 15 minutes
- Category: Snack
- Method: Frying
- Cuisine: International


