Cherry Mash Truffles Recipe
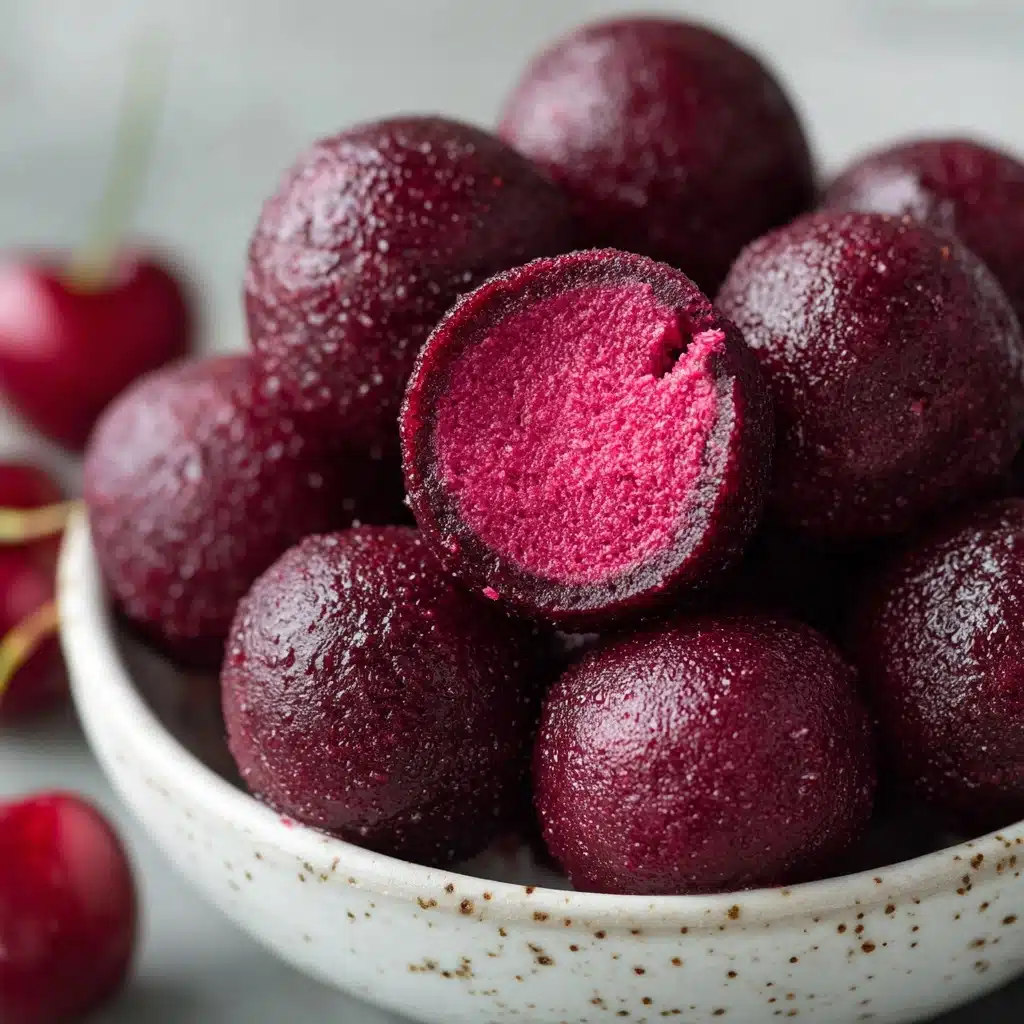
If you’ve ever swooned over the combination of cherries, chocolate, and peanuts, you are in for a seriously nostalgic treat! These Cherry Mash Truffles capture all the fun and flavor of the classic candy bar, but in a homemade, bite-sized form that’s perfect for gifting, sharing, or sneaking straight from the fridge. Every sweet, creamy bite is bursting with cherry flavor, wrapped in rich chocolate, and finished with a salty peanut crunch—trust me, Cherry Mash Truffles will quickly become a favorite in your dessert rotation.
Ingredients You’ll Need
The beauty of Cherry Mash Truffles is how every single ingredient plays an important role: from the bold color of cherry gelatin to the silky smoothness of sweetened condensed milk, each one is part of the magic. Let’s walk through what you’ll need—and why you’ll love it!
- Sweetened condensed milk: This is the creamy backbone of the filling, giving truffles a rich, luscious texture.
- Cherry gelatin: Not only does it provide that signature rosy hue, but it also infuses every bite with bright cherry flavor.
- Vanilla extract: Just a splash deepens the sweetness and adds warmth to the cherry notes.
- Unsalted butter, softened: Makes the filling smooth and helps it set with just the right amount of richness.
- Powdered sugar: Thickens the filling and balances the tartness of the cherries with gentle sweetness.
- Maraschino cherries, drained and finely chopped: These juicy gems add pops of flavor and a burst of real cherry in every bite.
- Semisweet chocolate chips: Perfectly bittersweet, these form the glossy shell around each truffle.
- Peanut butter: Blends with chocolate for a nutty, creamy coating that’s impossible to resist.
- Salted peanuts, finely chopped: The crunch and saltiness cut through the sweetness, giving the truffles their signature bite.
How to Make Cherry Mash Truffles
Step 1: Mix the Cherry Center
Start by grabbing a large mixing bowl—you’ll need the room! Combine the sweetened condensed milk, cherry gelatin, vanilla extract, and softened butter. Stir everything together until the mixture is smooth and glossy. This is the base for that irresistibly creamy, cherry-scented center.
Step 2: Build the Dough
Gradually add the powdered sugar to your cherry mixture, stirring as you go. You want to create a thick, pliable dough that’s still soft but not sticky. This step can take a bit of elbow grease, but it’s so worth it! Once the dough comes together, fold in the finely chopped maraschino cherries for little bursts of fruit in every truffle.
Step 3: Shape and Chill
Now for the fun part—rolling! Scoop out small portions (about 1 inch each) and roll them into balls with your hands. Place them on a parchment-lined baking sheet, making sure they aren’t touching. Pop the tray in the fridge for at least an hour so the centers firm up and are easy to coat.
Step 4: Prepare the Chocolate-Peanut Coating
While the cherry centers chill, combine chocolate chips and peanut butter in a microwave-safe bowl. Microwave in 30-second bursts, stirring each time, until the mixture is silky and smooth. Stir in the finely chopped salted peanuts to give the coating that craveable crunch.
Step 5: Dip and Set
Take your cherry balls from the fridge and, using a fork, dip each one into the chocolate-peanut mixture. Let any excess drip off, then return them to the parchment-lined tray. Once all are coated, refrigerate the truffles again until the chocolate is set and shiny—about 30 minutes should do it!
How to Serve Cherry Mash Truffles
Garnishes
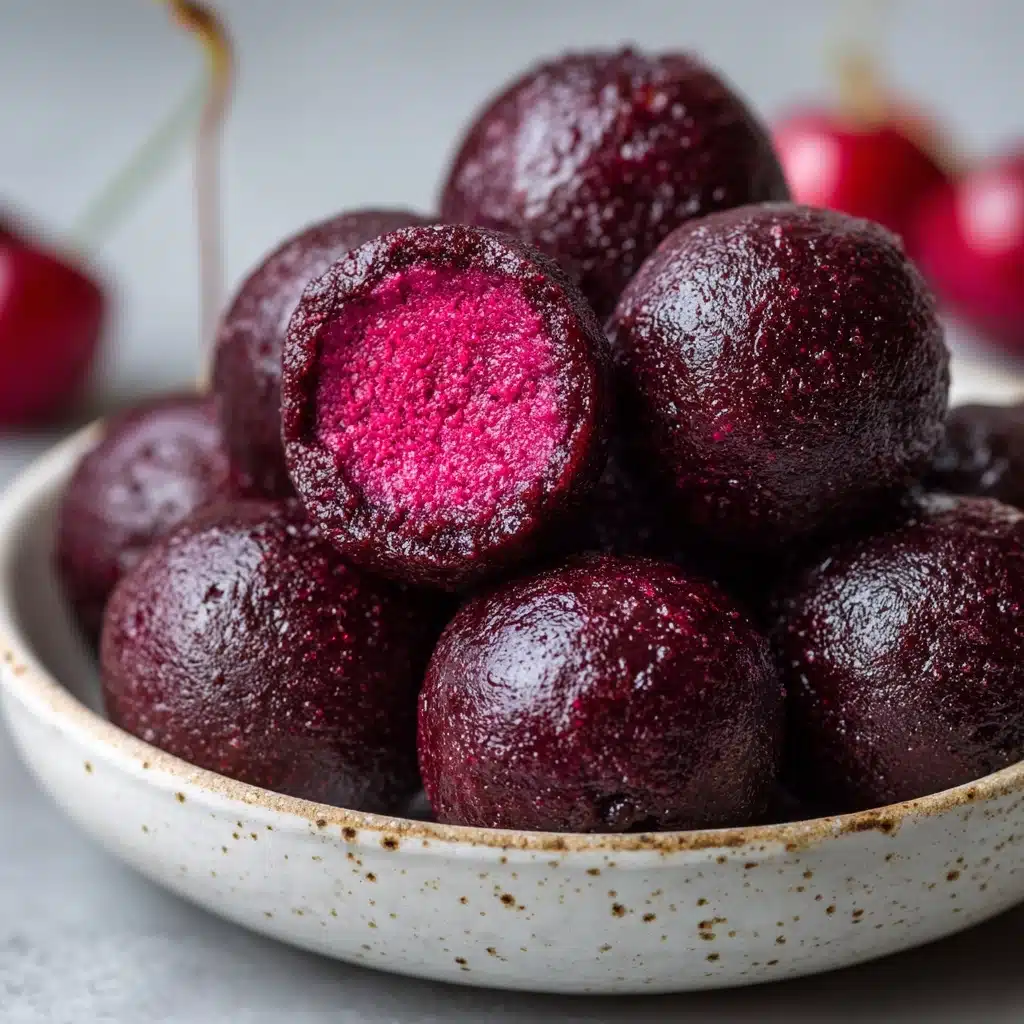
A classic finish is a simple drizzle of melted white chocolate—so elegant! You can also sprinkle crushed peanuts on top while the coating is still wet, or add a tiny piece of maraschino cherry for a pop of color. These little touches make your Cherry Mash Truffles extra special and irresistible.
Side Dishes
Pair these truffles with a cup of strong coffee, a creamy latte, or even a glass of cold milk. They also shine alongside a fruit platter or as part of a larger dessert spread—think brownies, lemon bars, and fresh berries for a beautiful contrast of flavors.
Creative Ways to Present
Cherry Mash Truffles are made for gifting! Tuck them into a festive tin, arrange them in mini cupcake liners, or pile them up on a pretty cake stand for a party centerpiece. For a playful twist, skewer a few truffles on sticks and wrap them in cellophane for homemade candy pops.
Make Ahead and Storage
Storing Leftovers
Store your Cherry Mash Truffles in an airtight container in the fridge. They’ll stay fresh and delicious for up to a week—if they last that long! The cold helps keep the centers firm and the chocolate coating snappy.
Freezing
These truffles freeze beautifully! Arrange them in a single layer in a freezer-safe container, separating layers with parchment paper. They’ll keep for up to two months. Thaw in the fridge overnight before serving for the best texture.
Reheating
No reheating needed—just let frozen truffles thaw in the refrigerator until they’re soft enough to bite. If you want a gooier center, you can let them sit at room temperature for about 10 minutes before enjoying.
FAQs
Can I use fresh cherries instead of maraschino cherries?
Fresh cherries have more moisture and a different texture, so for authentic Cherry Mash Truffles, stick to maraschino cherries—they give you that classic flavor and soft, sweet bite.
What’s the best way to chop the peanuts?
A food processor makes quick work of this, pulsing until you get a fine, even chop. If you prefer a chunkier bite, just use a sharp knife and chop by hand.
Can I use milk chocolate instead of semisweet chocolate chips?
Absolutely! If you’re a milk chocolate fan, swap it in for a sweeter coating. Just know that semisweet chocolate balances the sweetness of the filling beautifully.
How do I keep the truffle centers from sticking to my hands?
If the mixture is sticky, lightly dust your hands with powdered sugar, or chill the dough for 10–15 minutes before shaping. It makes rolling so much easier!
Is it possible to make Cherry Mash Truffles nut-free?
Yes, you can skip the peanuts and use a nut-free chocolate coating, or substitute sunflower seed butter for the peanut butter. The truffles will still be delicious and allergy-friendly!
Final Thoughts
If you love a sweet treat that’s as fun to make as it is to eat, Cherry Mash Truffles are calling your name! Each bite is a celebration of cherry, chocolate, and peanut bliss—so don’t wait, gather your ingredients and share these little bites of happiness with someone you love.
Print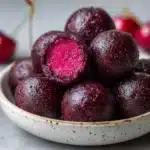
Cherry Mash Truffles Recipe
- Total Time: 1 hour 35 minutes
- Yield: 36 truffles 1x
- Diet: Non-Vegetarian
Description
Delight in the classic American treat of Cherry Mash Truffles, featuring a rich cherry-flavored dough blended with creamy peanut butter and semisweet chocolate, coated with crunchy salted peanuts. These no-bake, bite-sized truffles combine sweet maraschino cherries and smooth chocolate for an irresistible dessert perfect for any occasion.
Ingredients
Truffle Base
- 1 can (14 ounces) sweetened condensed milk
- 1 package (3 ounces) cherry gelatin
- 1 teaspoon vanilla extract
- 1/2 cup unsalted butter, softened
- 6 cups powdered sugar
- 1 jar (10 ounces) maraschino cherries, drained and finely chopped
Chocolate Coating
- 4 cups semisweet chocolate chips
- 1 cup peanut butter
- 2 cups salted peanuts, finely chopped
Instructions
- Prepare the Truffle Mixture: In a large bowl, combine the sweetened condensed milk, cherry gelatin, vanilla extract, and softened butter. Stir thoroughly until the mixture is smooth and well blended.
- Add Powdered Sugar: Gradually incorporate the powdered sugar into the mixture, stirring consistently until a thick dough forms.
- Fold in Cherries: Gently fold the finely chopped maraschino cherries into the dough until evenly distributed throughout.
- Shape the Truffles: Roll the cherry dough into small 1-inch balls and place them on a baking sheet lined with parchment paper.
- Chill the Truffles: Refrigerate the shaped balls for at least 1 hour, or until they have firmed up.
- Melt Chocolate and Peanut Butter: In a microwave-safe bowl, combine the semisweet chocolate chips and peanut butter. Heat in 30-second intervals, stirring between each until the mixture is smooth and fully melted.
- Add Peanuts to Coating: Stir the finely chopped salted peanuts into the melted chocolate and peanut butter mixture.
- Coat the Truffles: Using a fork, dip each chilled cherry ball into the chocolate-peanut coating, ensuring it is completely covered. Allow excess coating to drip off before placing them back onto the parchment-lined baking sheet.
- Set the Coating: Return the coated truffles to the refrigerator and chill until the chocolate coating has fully set.
- Store: Keep the finished truffles in an airtight container refrigerated until ready to serve.
Notes
- For a smoother texture in the coating, pulse the salted peanuts in a food processor before mixing them with the chocolate and peanut butter.
- For added decoration and flavor, drizzle melted white chocolate over the set truffles.
- Ensure the cherries are very finely chopped to maintain a smooth dough consistency.
- Chilling times can be adjusted; longer chilling can improve truffle firmness.
- Prep Time: 30 minutes
- Cook Time: 5 minutes
- Category: Dessert
- Method: No-Bake
- Cuisine: American
Nutrition
- Serving Size: 1 truffle
- Calories: 180
- Sugar: 20 g
- Sodium: 65 mg
- Fat: 9 g
- Saturated Fat: 4 g
- Unsaturated Fat: 4 g
- Trans Fat: 0 g
- Carbohydrates: 24 g
- Fiber: 1 g
- Protein: 3 g
- Cholesterol: 5 mg
