Frozen Yogurt Pops Recipe
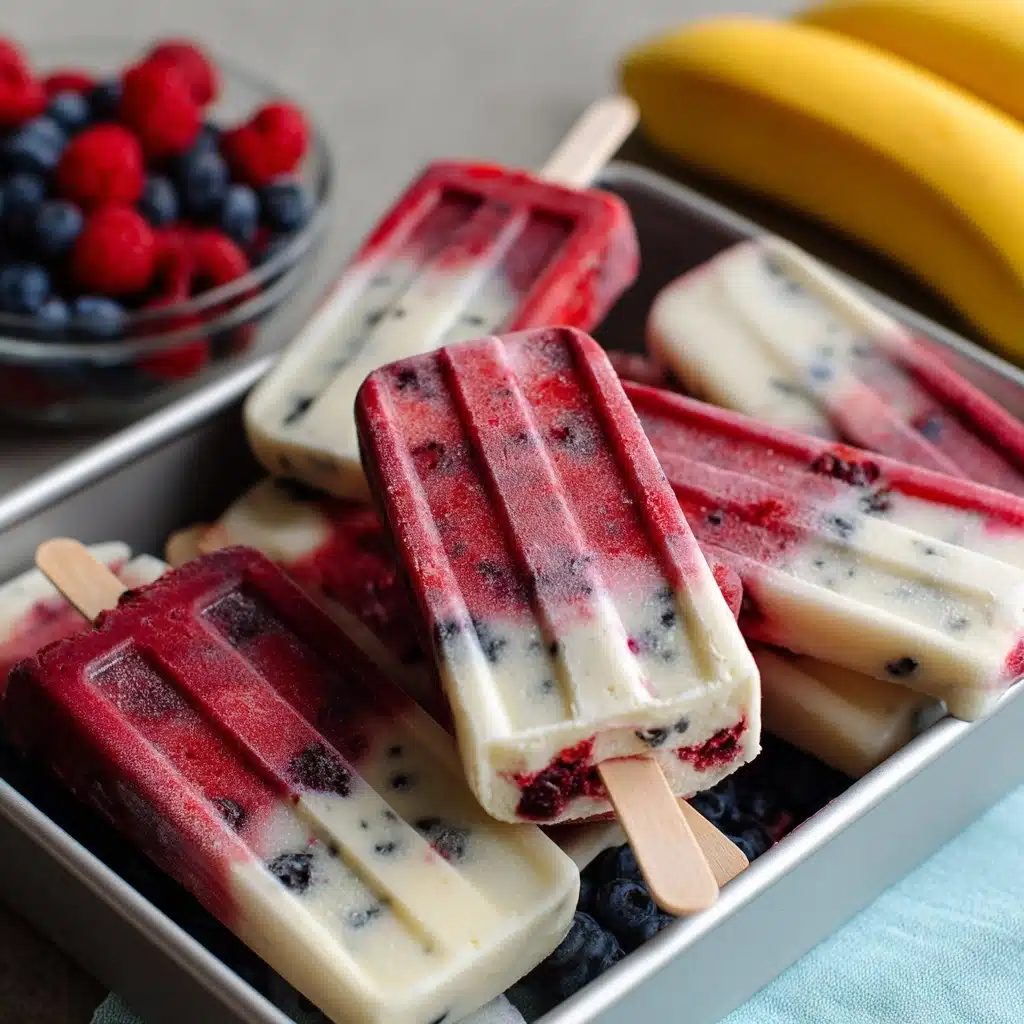
Frozen Yogurt Pops are a joyful celebration of summer in every bite—creamy, fruity, and packed with wholesome goodness. With just a handful of ingredients and a few minutes of prep, you can whip up a batch that’s both nourishing and irresistibly fun for all ages. Whether you’re cooling off after a sunny afternoon or looking for a healthy treat to please a crowd, these pops are a go-to favorite that never disappoints.
Ingredients You’ll Need
-
Main Ingredients
- 2 cups Greek yogurt (plain or flavored)
- 1 cup fresh or frozen berries (such as strawberries, blueberries, or raspberries)
- 2–3 tablespoons honey or maple syrup (adjust to taste)
- 1 teaspoon vanilla extract
Optional Mix-ins
- Granola
- Mini chocolate chips
- Chopped nuts
How to Make Frozen Yogurt Pops
Step 1: Blend the Base
Start by adding the Greek yogurt, berries, honey or maple syrup, and vanilla extract into your blender or food processor. You can blend until completely smooth for a silky finish, or pulse a few times if you like bits of fruit for added texture. The aroma as everything blends together is a sneak peek of the deliciousness waiting ahead!
Step 2: Fill the Molds
Spoon the luscious mixture into your popsicle molds. Take your time and tap the molds gently on the counter to release any air bubbles, which helps the pops freeze evenly. For extra fun and texture, layer in some granola, mini chocolate chips, or chopped nuts between spoonfuls of yogurt mixture. This step turns every Frozen Yogurt Pop into a mini masterpiece!
Step 3: Freeze Until Solid
Insert the popsicle sticks and nestle the molds into your freezer. Patience is key here—let the pops freeze for at least 4 to 6 hours, or until completely solid. It’s tempting to peek, but the wait is so worth it!
Step 4: Unmold and Enjoy
When you’re ready for a treat, run the outside of the popsicle molds under warm water for a few seconds. This little trick helps the Frozen Yogurt Pops slide out smoothly, so you can enjoy them right away or stash them in a freezer bag for later cravings.
How to Serve Frozen Yogurt Pops

Garnishes
These pops are already gorgeous, but a little flourish never hurts! Sprinkle them with extra berries, a dusting of shredded coconut, or a drizzle of melted chocolate just before serving for a stunning effect that matches their incredible taste.
Side Dishes
Pair your Frozen Yogurt Pops with a fresh fruit salad or a platter of crisp, juicy watermelon slices. For an indulgent twist, serve alongside a bowl of whipped cream or a tray of cookies for dunking—because why not make snack time a mini celebration?
Creative Ways to Present
For parties, stand the pops in a bucket of crushed ice or arrange them upright in a decorative bowl. Mini pops are great for kids’ gatherings, while pops with different fruit layers add a wow factor to any dessert table. You can even tie a ribbon on the sticks for an extra festive touch!
Make Ahead and Storage
Storing Leftovers
If you manage to have any leftovers, just keep the Frozen Yogurt Pops in their molds or transfer them to an airtight freezer-safe bag or container. They’ll stay fresh and delicious for up to two weeks—perfect for spontaneous snack attacks.
Freezing
Freezing is a breeze with this recipe! Just be sure the pops are fully set before removing from the molds, and lay them flat in the freezer to prevent sticking. If layering pops, separate with parchment paper for easy access whenever the craving strikes.
Reheating
Since these are meant to be enjoyed frozen, there’s no need to reheat. If the pops are a bit too hard straight from the freezer, let them rest at room temperature for a minute or two, and they’ll be the perfect creamy consistency.
FAQs
Can I use regular yogurt instead of Greek yogurt?
Absolutely! Regular yogurt will work, though the texture will be slightly less creamy. If you use a thinner yogurt, consider draining it for a bit to remove excess liquid, or just enjoy the lighter consistency.
What fruits can I use besides berries?
Frozen Yogurt Pops are super versatile—try mango, peaches, bananas, or even pineapple. You can mix and match fruits based on what’s in season or what you have on hand.
How do I make these vegan?
Simply use your favorite dairy-free yogurt (like coconut or almond-based) and opt for maple syrup instead of honey. The pops will be just as creamy and delicious, with a lovely plant-based twist.
Can I make these without popsicle molds?
Yes! Small paper cups and wooden sticks make a great substitute. Fill the cups with your yogurt mixture, cover with foil, and poke the sticks through the top before freezing. Peel away the cup before serving.
Are Frozen Yogurt Pops kid-friendly?
Kids love these pops! You can let them help layer in their favorite fruits and toppings, making snack time interactive and fun. Plus, they’re a wholesome alternative to many store-bought frozen treats.
Final Thoughts
If you’re looking for a treat that’s as delightful as it is healthy, make these Frozen Yogurt Pops part of your summer (or anytime) routine. They’re easy, endlessly customizable, and guaranteed to bring a smile to everyone’s face. Give them a try—you’ll be hooked from the very first bite!
Print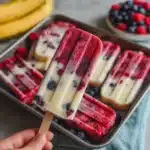
Frozen Yogurt Pops Recipe
- Total Time: 6 hours (including freezing)
- Yield: 6 pops 1x
- Diet: Vegetarian
Description
These Frozen Yogurt Pops are a refreshing and healthy summer treat made with creamy Greek yogurt, fresh or frozen berries, and natural sweeteners. Perfect for a guilt-free dessert or snack, they are easy to prepare and customizable with optional mix-ins like granola, mini chocolate chips, or chopped nuts for extra texture.
Ingredients
Main Ingredients
- 2 cups Greek yogurt (plain or flavored)
- 1 cup fresh or frozen berries (such as strawberries, blueberries, or raspberries)
- 2–3 tablespoons honey or maple syrup (adjust to taste)
- 1 teaspoon vanilla extract
Optional Mix-ins
- Granola
- Mini chocolate chips
- Chopped nuts
Instructions
- Blend Ingredients: In a blender or food processor, combine the Greek yogurt, berries, honey or maple syrup, and vanilla extract. Blend until smooth for a creamy texture, or pulse to retain small fruit chunks for added texture according to your preference.
- Fill Molds: Spoon the yogurt mixture into popsicle molds. Tap the molds gently to release any air bubbles. For added texture and flavor, layer in optional mix-ins such as granola, mini chocolate chips, or chopped nuts while filling the molds.
- Freeze: Insert the popsicle sticks into the molds and freeze for at least 4 to 6 hours, or until the pops are fully solidified.
- Release and Serve: To remove the pops from the molds, run warm water over the outside for a few seconds. Gently pull the pops out and serve immediately, or store them in the freezer for up to 2 weeks for later enjoyment.
Notes
- Use dairy-free yogurt such as coconut or almond yogurt to make these pops vegan-friendly.
- Feel free to swap out berries for other fruits like mango, peaches, or bananas to vary the flavor.
- These frozen yogurt pops are great for kids and make a perfect healthy summer snack.
- Prep Time: 10 minutes
- Cook Time: 0 minutes
- Category: Dessert
- Method: Freezing
- Cuisine: American
Nutrition
- Serving Size: 1 pop
- Calories: 90
- Sugar: 9g
- Sodium: 30mg
- Fat: 2g
- Saturated Fat: 1g
- Unsaturated Fat: 1g
- Trans Fat: 0g
- Carbohydrates: 12g
- Fiber: 1g
- Protein: 5g
- Cholesterol: 5mg


