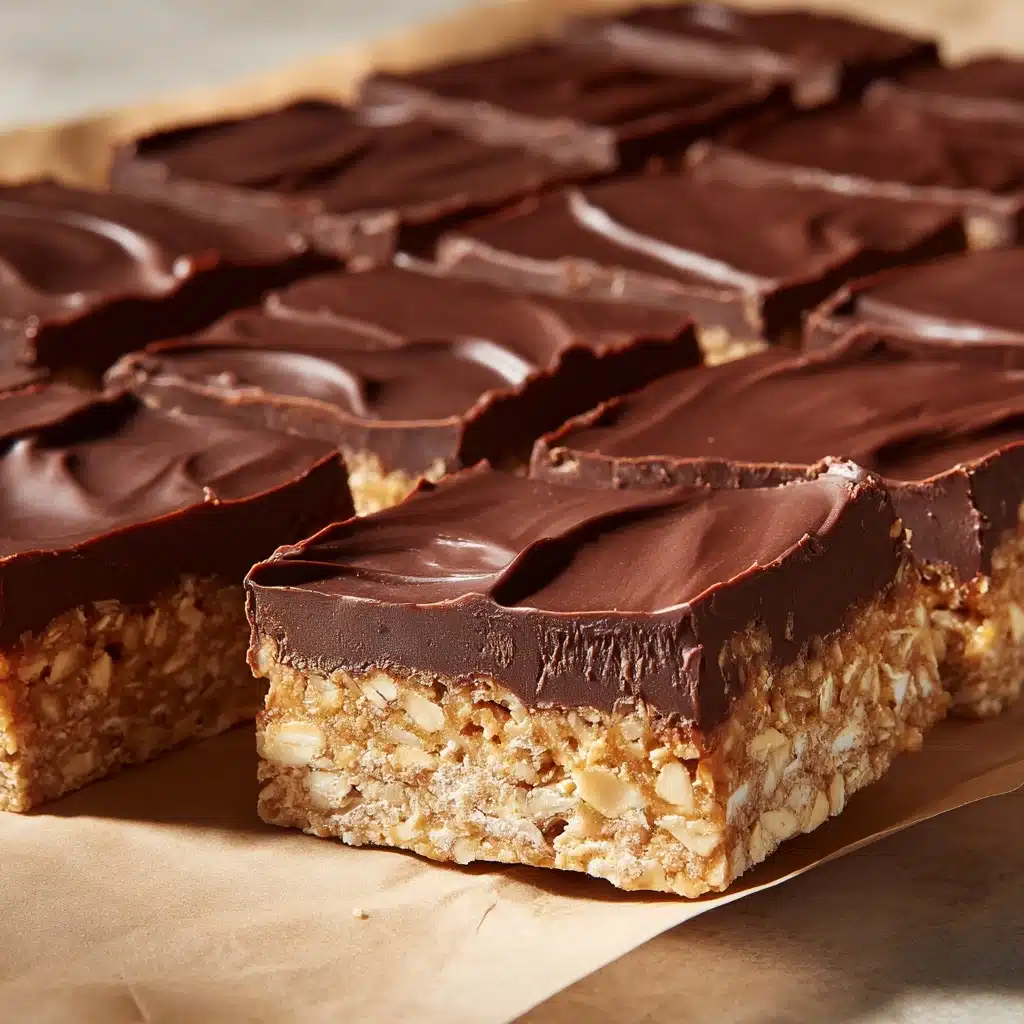
Homemade Crunch Bars Recipe
If you grew up loving crisp, chocolatey treats but wish you could capture that same magic at home, you’re in for a delicious surprise. These Homemade Crunch Bars deliver the perfect symphony of creamy chocolate with that irresistible, light-as-air crunch you just can’t stop munching. With just three ingredients and hardly any prep, this recipe has become my foolproof go-to for satisfying sweet cravings fast, sharing with friends, or even sneaking a bite straight from the fridge. If you haven’t tried making Homemade Crunch Bars yet, you’re about to unlock a new snack obsession!
Ingredients You’ll Need
Simple can be sensational – and these bars are living proof. Each ingredient brings something special, whether it’s smoothness, crunch, or melt-in-your-mouth flavor. Plus, you likely have most of them in your kitchen right now!
- 2 cups semisweet or milk chocolate chips: These form the luscious, melt-in-your-mouth base. Use semisweet for a classic nostalgic taste, or milk chocolate for extra sweetness.
- 1 tablespoon coconut oil or butter (optional): Adding this makes your chocolate even glossier and easier to melt, but you can skip it if you prefer a firmer bite.
- 2 cups crispy rice cereal (like Rice Krispies): Say hello to that signature crunch! Opt for a gluten-free variety if needed.
How to Make Homemade Crunch Bars
Step 1: Prep Your Baking Dish
Line an 8×8-inch baking dish with parchment paper, making sure there’s some overhang on the sides. This tiny step makes a world of difference – it’ll help you lift those bars right out when you’re ready to slice, with no mess or sticking!
Step 2: Melt the Chocolate
Combine the chocolate chips and coconut oil or butter (if using) in a microwave-safe bowl. Zap them in 30-second bursts, stirring well after each, until everything is dreamy and smooth. No microwave? A gentle double boiler on the stove works beautifully, too.
Step 3: Fold in the Crunch
Pour your crispy rice cereal into the melted chocolate, then gently fold until every single piece is coated. Trust me, this part is fun – it’s like making a grown-up version of a childhood favorite!
Step 4: Spread and Press
Spoon the mixture into your lined pan and use a spatula (or the back of a spoon) to press it into an even layer. Give it a gentle press – you want the bars to stick together, but don’t crush the cereal magic.
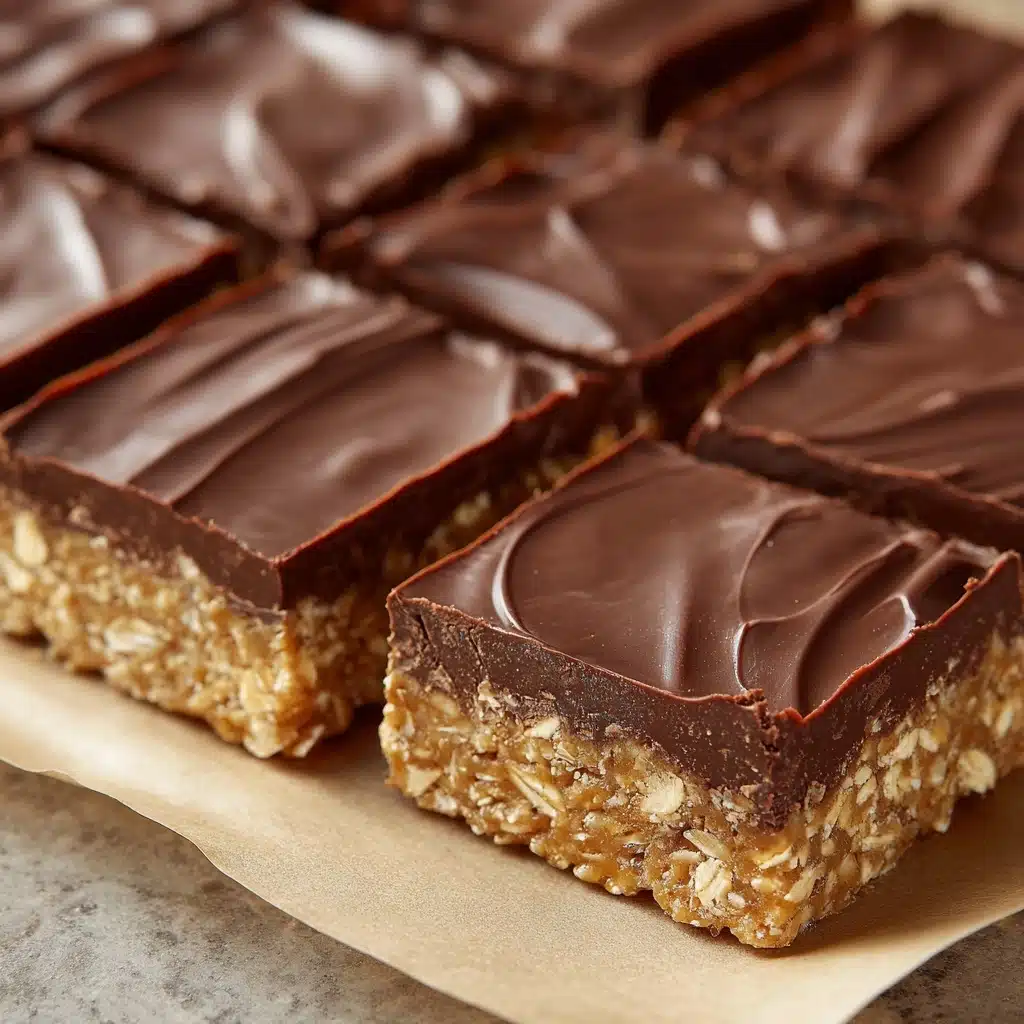
Step 5: Chill and Slice
Pop the pan in the fridge and let it chill for at least one hour, or until firm and set. Once chilled, grab those parchment “handles” and lift the slab out. Use a sharp knife to slice into squares or bars, and get ready to enjoy!
How to Serve Homemade Crunch Bars
Garnishes
A little flourish goes a long way! Try drizzling your Homemade Crunch Bars with extra melted chocolate or sprinkle them with a pinch of flaky sea salt right after chilling for a grown-up touch. Chopped nuts or mini marshmallows pressed on top while still tacky are also irresistible twists.
Side Dishes
These bars pair delightfully with a cold glass of milk or a hot cup of coffee. For a dessert platter, team them with fresh berries or sliced bananas for a fruity contrast, or add them to a cookie assortment at parties or lunches.
Creative Ways to Present
Homemade Crunch Bars are a gift-giver’s dream. Stack slices in cellophane bags tied with ribbon for a homemade gift, or pack them in lunchboxes as a midday pick-me-up. For parties, try cutting them into tiny squares and threading them onto skewers with fruit for a playful buffet treat!
Make Ahead and Storage
Storing Leftovers
To keep your Homemade Crunch Bars at their best, transfer them to an airtight container and store in the fridge. That way, they stay crisp and fresh for up to a week (assuming they last that long around your house!).
Freezing
These bars freeze beautifully. Stack them between sheets of parchment or wax paper in a freezer-safe container. When you’re ready for a treat, just thaw at room temperature for 15–20 minutes for the perfect bite. Frozen bars make clever lunchbox coolers, too!
Reheating
Since these are no-bake, there’s no need to reheat them. If your bars are straight from the freezer and extra firm, a few minutes at room temperature or a quick zap in the microwave (about 10 seconds) brings the chocolate to that just-right meltiness.
FAQs
Can I make Homemade Crunch Bars dairy-free or vegan?
Absolutely! Use your favorite dairy-free chocolate chips and coconut oil, and double-check that your crispy rice cereal is vegan. You won’t miss a thing in flavor or texture.
What if I don’t have coconut oil or butter?
No problem—skip it! The optional oil or butter just helps the chocolate melt more smoothly and gives a slightly softer bite, but the bars still work perfectly well without it.
Can I add extras to the mix?
Totally! Go ahead and stir in a handful of chopped nuts, dried fruit, or even a splash of vanilla extract. Just avoid super wet mix-ins, which might soften the crunch.
How can I make Homemade Crunch Bars gluten-free?
Easy—just make sure your crispy rice cereal is labeled gluten-free. Many popular brands are, but always double-check to be safe.
Why did my chocolate seize or turn grainy?
This happens if water sneaks into the chocolate or it heats too quickly. Use a dry bowl and utensils, and melt gently in short bursts with lots of stirring for the smoothest results.
Final Thoughts
If you’re searching for a no-fuss, no-bake treat that packs a punch of flavor and fun, don’t miss out on making Homemade Crunch Bars. There’s a certain joy in watching just three pantry staples transform into outrageously delicious, crowd-loving bars. Give them a spot in your snack routine — you may never look at store-bought candy the same way again!
Print
Homemade Crunch Bars Recipe
- Total Time: 1 hour 10 minutes
- Yield: 16 bars 1x
- Diet: Vegetarian, Gluten-Free
Description
These Homemade Crunch Bars are a delightful treat that combines the richness of chocolate with the satisfying crunch of crispy rice cereal. Easy to make and no baking required!
Ingredients
Chocolate Coating:
- 2 cups semisweet or milk chocolate chips
- 1 tablespoon coconut oil or butter (optional, for smoother texture)
Crunchy Base:
- 2 cups crispy rice cereal (like Rice Krispies)
Instructions
- Prepare the Chocolate Coating: Line an 8×8-inch baking dish with parchment paper. In a microwave-safe bowl, melt the chocolate chips with the coconut oil or butter in 30-second intervals, stirring between each, until smooth.
- Mix in the Crunchy Base: Stir in the crispy rice cereal until fully coated with the melted chocolate. Pour the mixture into the prepared baking dish and press it into an even layer. Refrigerate for at least 1 hour until set.
- Slice and Serve: Once set, lift the bars out using the parchment overhang and slice into squares or bars. Serve chilled or at room temperature.
Notes
- For added flavor, consider mixing in a pinch of sea salt or a splash of vanilla extract.
- Store bars in the fridge for up to 1 week or freeze for longer storage.
- Prep Time: 10 minutes
- Cook Time: 0 minutes
- Category: Dessert
- Method: No-Bake
- Cuisine: American
Nutrition
- Serving Size: 1 bar
- Calories: 160
- Sugar: 14g
- Sodium: 25mg
- Fat: 9g
- Saturated Fat: 5g
- Unsaturated Fat: 4g
- Trans Fat: 0g
- Carbohydrates: 20g
- Fiber: 1g
- Protein: 1g
- Cholesterol: 0mg


