Sourdough Starter Recipe
Few kitchen projects are quite as magical (or as rewarding) as cultivating your very own Sourdough Starter from scratch. With just flour and water, you’ll spark the slow, wild dance of fermentation that transforms humble ingredients into a bubbling, living culture—the secret behind deeply flavorful, naturally leavened breads. This method puts the magic in your hands, so you can bake beautiful, crusty loaves, pancakes, waffles, and more, whenever the mood strikes.
Ingredients You’ll Need
-
Day 1:
- 1 cup (120g) all-purpose flour or whole wheat flour
- 1/2 cup (120g) filtered or dechlorinated water
How to Make Sourdough Starter
Step 1: Begin Your Starter
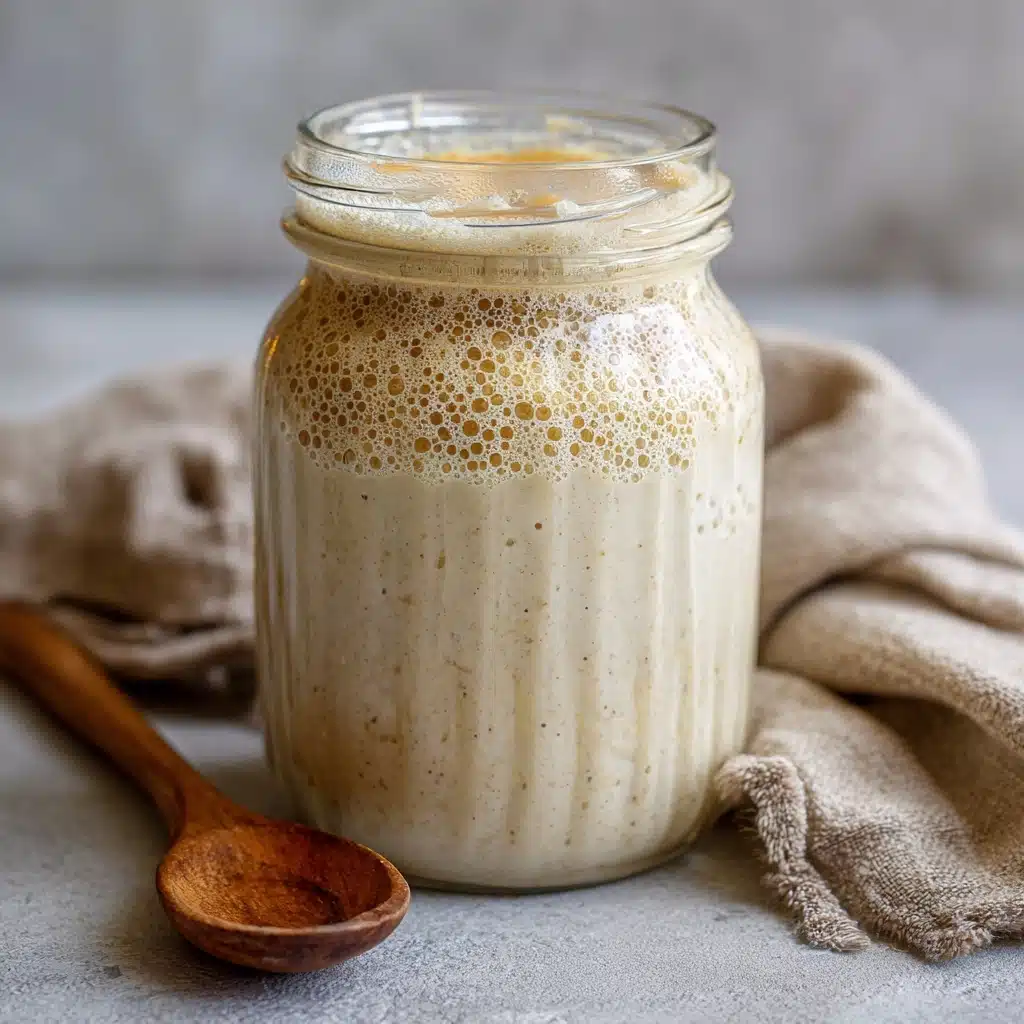
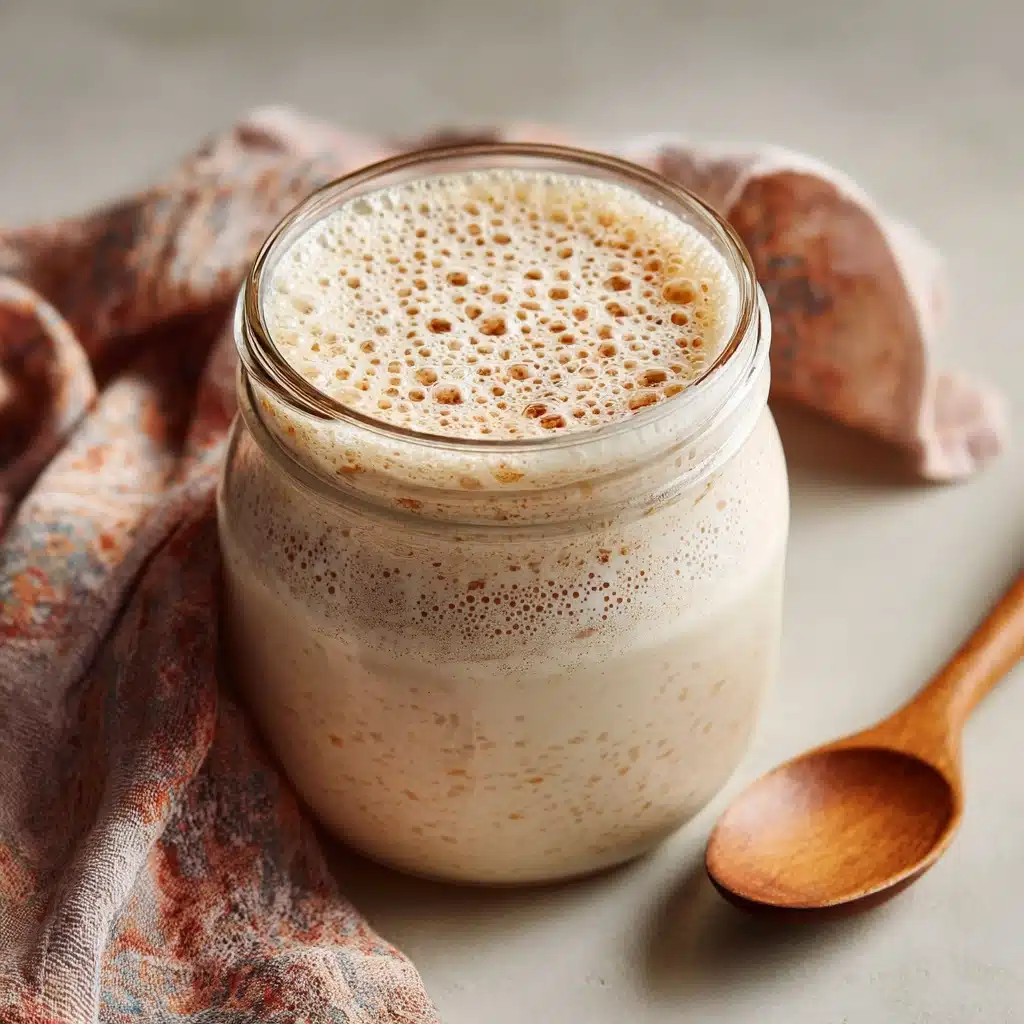
Start by combining 1 cup (120g) of flour and 1/2 cup (120g) of filtered water in a clean glass jar or bowl. Mix thoroughly until there’s no dry flour left—the mixture should be thick, sticky, and pasty. Cover loosely with a lid, clean cloth, or plastic wrap to let air in but keep dust out. Place the jar somewhere warm (ideally between 70 and 75°F), away from direct sunlight.
Step 2: Feed and Wait
On the second day, check for tiny bubbles—any sign of activity is cause for a happy dance! Discard half of your Sourdough Starter (about 1/2 cup), which helps keep the culture balanced. Add 1/2 cup flour and 1/4 cup water, stir well, and cover again. The discard might seem wasteful, but it’s essential for a robust, lively starter.
Step 3: Consistent Feedings
Days 3 through 7 are all about routine: each day, discard half the starter, feed with 1/2 cup flour and 1/4 cup water, and mix well. By day 5 or 6, your Sourdough Starter should show real spirit—lots of bubbles, doubling in size after feedings, and a tangy, almost fruity aroma that’s unmistakable. This is the “aha!” moment for every home baker.
Step 4: Ready, Set, Bake!
Your starter is finished when it can double in volume within 4 to 6 hours of feeding and smells pleasantly sour. At this stage, it’s active and robust—perfect for baking! You can now use it in recipes, always remembering to feed it after removing some for a bake. The rest stores beautifully in the fridge, ready for your next inspiration.
How to Serve Sourdough Starter
Garnishes
While you don’t exactly “garnish” Sourdough Starter itself, adding a dollop of fresh starter to finished bread doughs, batters, or even pizza crusts yields beautiful flavor and texture. For visual flair in rustic loaves, try dusting with flour before scoring and baking—the starter’s activity creates gorgeous oven spring.
Side Dishes
Bread made with Sourdough Starter is divine with creamy butters, fresh jams, or sharp cheeses. Slices of tangy sourdough are delicious alongside soups, salads, or even simple scrambled eggs. For a breakfast treat, sourdough pancakes and waffles offer an irresistible twist on classic brunch fare.
Creative Ways to Present
Dreaming of sharing your starter? Transfer a scoop to a charming jar, tie with a ribbon, and include a handwritten card of feeding instructions for friends. Or swirl fresh Sourdough Starter directly into batter for muffins, crackers, or cinnamon rolls—the bubbly, tangy profile adds character to all sorts of creative bakes.
Make Ahead and Storage
Storing Leftovers
Once your Sourdough Starter is mature, it can live happily in the fridge—just be sure to feed it at least once a week, or after using some in a recipe. Store it in a glass jar with a loose-fitting lid, so the gasses from fermentation can escape. If neglected, it might develop a dark liquid on top (called hooch); simply pour it off and feed as usual.
Freezing
For long-term backup, you can freeze a portion of your starter. Place some mature Sourdough Starter in a freezer-safe container, label it with the date, and freeze for up to 3 months. To revive, thaw overnight in the fridge and resume daily feedings until bubbly and active again.
Reheating
Starters aren’t reheated, but they need to “wake up” after refrigeration. Pull your Sourdough Starter from the fridge, let it sit at room temperature for a few hours, then feed as usual. After a couple of room temperature feedings, it should spring back to life and be ready for baking.
FAQs
How do I know if my Sourdough Starter is ready to use?
A ready starter consistently doubles in size within 4–6 hours of feeding and smells pleasantly tangy with lots of bubbles. Perform a “float test” by dropping a spoonful in water—if it floats, your starter is typically active enough for bread.
Why do I have to discard half the starter every day?
Discarding controls the size of your Sourdough Starter and prevents it from becoming too acidic or overcrowded with yeast and bacteria. It’s also a way to keep just enough around for manageable feedings and strong, balanced fermentation.
Can I use different flours to feed my starter?
Absolutely! While all-purpose and whole wheat flours work beautifully, you can experiment with rye, spelt, or other grain flours for unique flavors and activity. Just keep in mind, some flours ferment faster and may require more frequent feedings.
What if my starter develops a strange color or smell?
A healthy starter should smell tangy or slightly fruity. If you notice mold (pink, orange, or fuzzy patches), or a rotten odor, it’s best to start over. Clear liquid (“hooch”) on top is safe—just pour it off and feed your starter as usual.
How should I maintain my starter if I bake weekly?
Keep your Sourdough Starter in the fridge and feed it once a week. Before baking, give it two feedings at room temperature to get it bubbling and lively again. This routine keeps your starter happy, healthy, and always on call for fresh bakes!
Final Thoughts
There’s a spectacular sense of satisfaction in nurturing your own Sourdough Starter—it’s both a baker’s best friend and a bit of edible science. Give this method a try and enjoy the endlessly creative world it opens up in your kitchen. Your future loaves (and taste buds) will thank you!
Print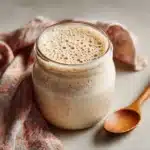
Sourdough Starter Recipe
- Total Time: 7 days (active time ~35 minutes)
- Yield: About 1 cup active starter 1x
- Diet: Vegan
Description
Learn how to make a simple and flavorful sourdough starter at home using just flour and water. This natural yeast starter will add depth and complexity to your homemade bread.
Ingredients
Day 1:
- 1 cup (120g) all-purpose flour or whole wheat flour
- 1/2 cup (120g) filtered or dechlorinated water
Instructions
- Day 1: In a clean glass jar or bowl, combine 1 cup of flour and 1/2 cup of water. Stir until no dry flour remains and the mixture is thick and pasty. Cover loosely and leave at room temperature.
- Day 2: Discard half of the starter, add 1/2 cup flour and 1/4 cup water. Mix well and cover. Repeat feeding daily until ready to use.
Notes
- Use unbleached flour and non-chlorinated water for best results.
- Store mature starter in the fridge and feed weekly.
- Always feed after using in a recipe.
- Prep Time: 5 minutes per day
- Cook Time: 0 minutes
- Category: Base Recipe
- Method: Fermentation
- Cuisine: Global
Nutrition
- Serving Size: 1 tablespoon
- Calories: 30
- Sugar: 0g
- Sodium: 0mg
- Fat: 0g
- Saturated Fat: 0g
- Unsaturated Fat: 0g
- Trans Fat: 0g
- Carbohydrates: 6g
- Fiber: 0g
- Protein: 1g
- Cholesterol: 0mg


